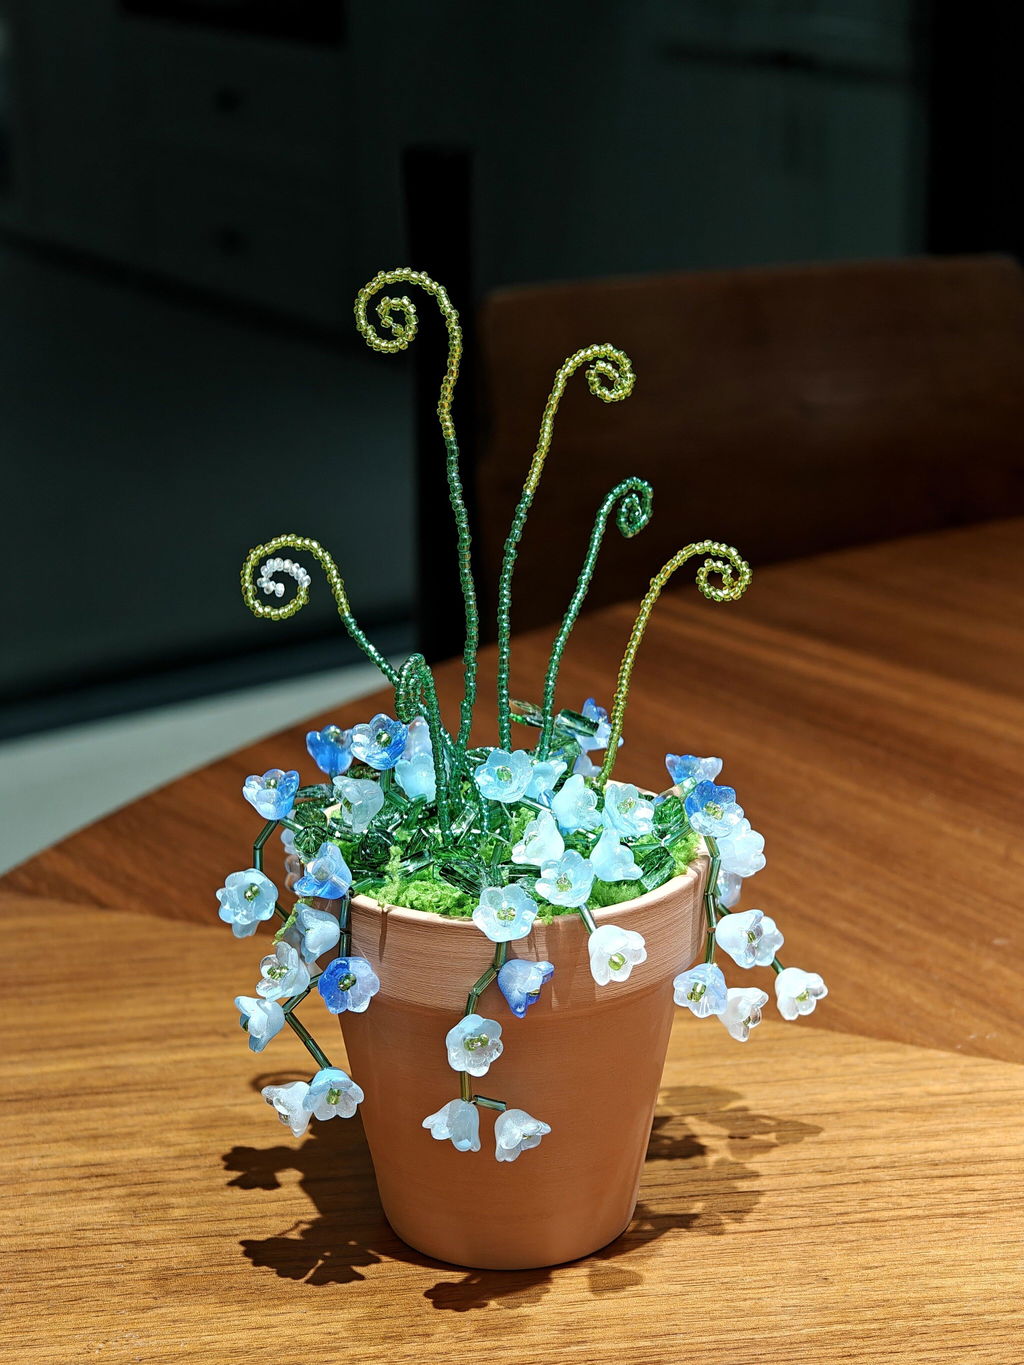
Bluebell Beaded Plant DIY Kit – Basket Style
Bluebell Beaded Plant DIY Kit – Basket Style
Couldn't load pickup availability
Create a basket-style bluebell beaded plant with soft blue and milky-white flowers, green stems, and curled vines. This beginner-friendly DIY kit makes a compact handmade decoration for desks, shelves, or gifts.
The Meaning Behind This Plant
Bluebells have carried the same quiet meanings for more than two centuries: humility, gratitude, and constancy — the kind of steadiness that never needs announcing. In British and Irish folklore they are also called fairy bells, said to ring for anyone who wanders into a bluebell wood in spring.
That makes this little basket a natural thank-you — for a teacher, a host, a neighbour, or someone who showed up for you over a long stretch. It sits on a desk or a shelf and says the same thing all year. Like every BobbleSprig plant, it never needs water, and the blue stays blue long after a real bluebell wood has gone green.
Project details
- Makes 1 basket-style bluebell beaded plant
- Soft blue and milky-white flowers with green stems and curled vines
- All project materials included
- Step-by-step video tutorial included
A gentle, beginner-friendly project to enjoy at your own pace.
Looking for desk styling ideas? See how a compact beaded plant can add no-watering plant decor to a desk or workspace.
Explore all beaded plant kits.
About this design
About this design
What’s included
What’s included
Tutorial guide
Tutorial guide
 Customers also added
Discount applied automatically


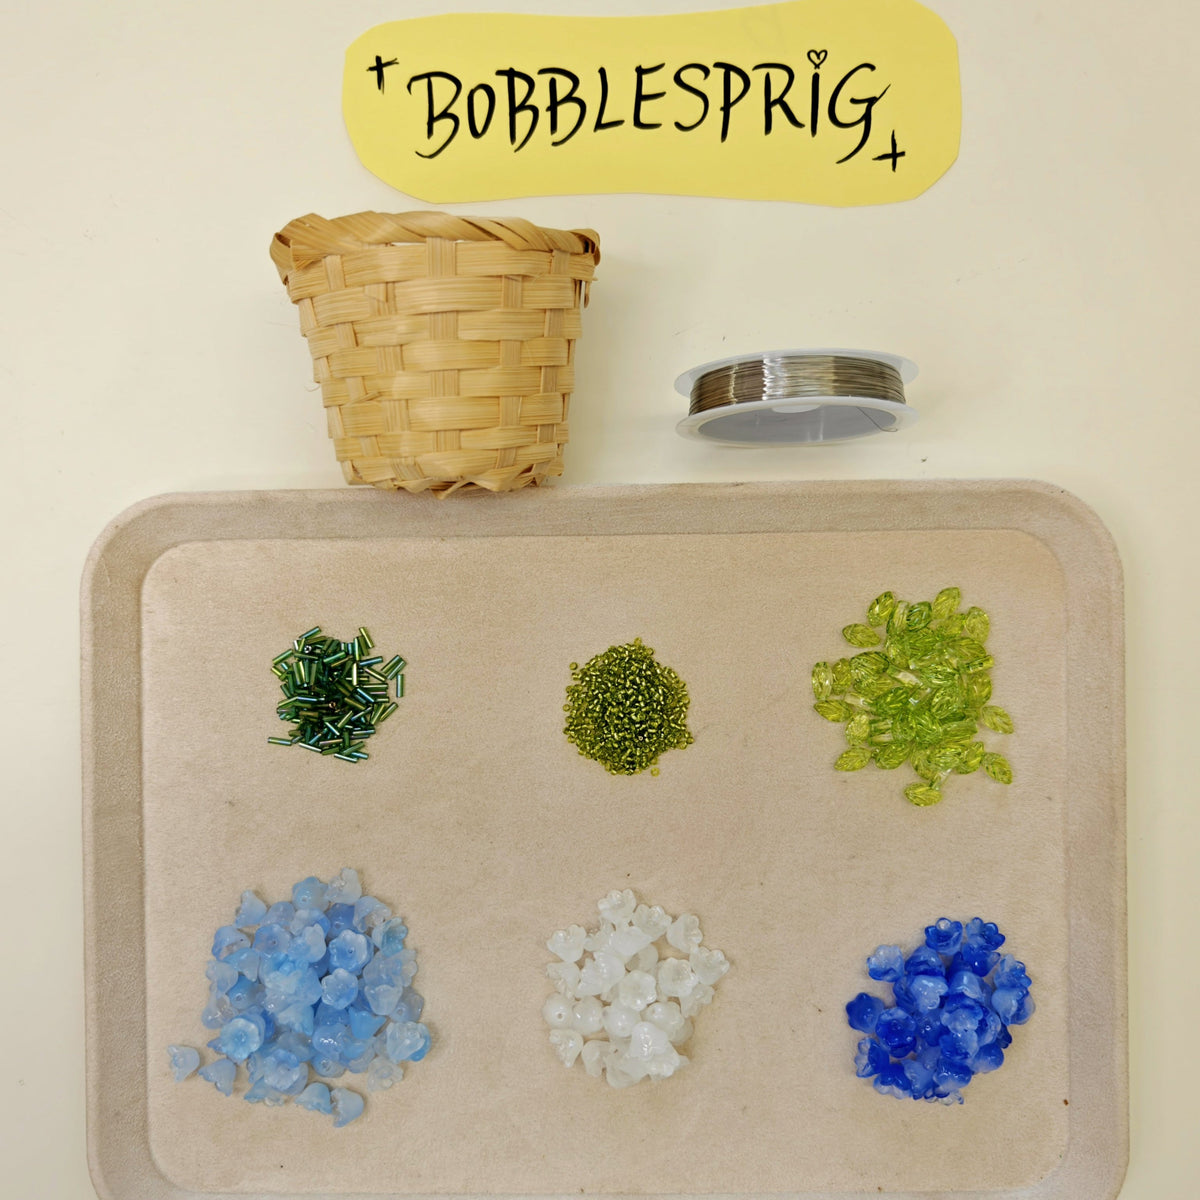

Everything You Need, In One Box
All project materials are carefully packed and ready for you to start. Follow the step-by-step video tutorial and create at your own pace.
- All project materials included
- Step-by-step video tutorial
- No previous experience needed
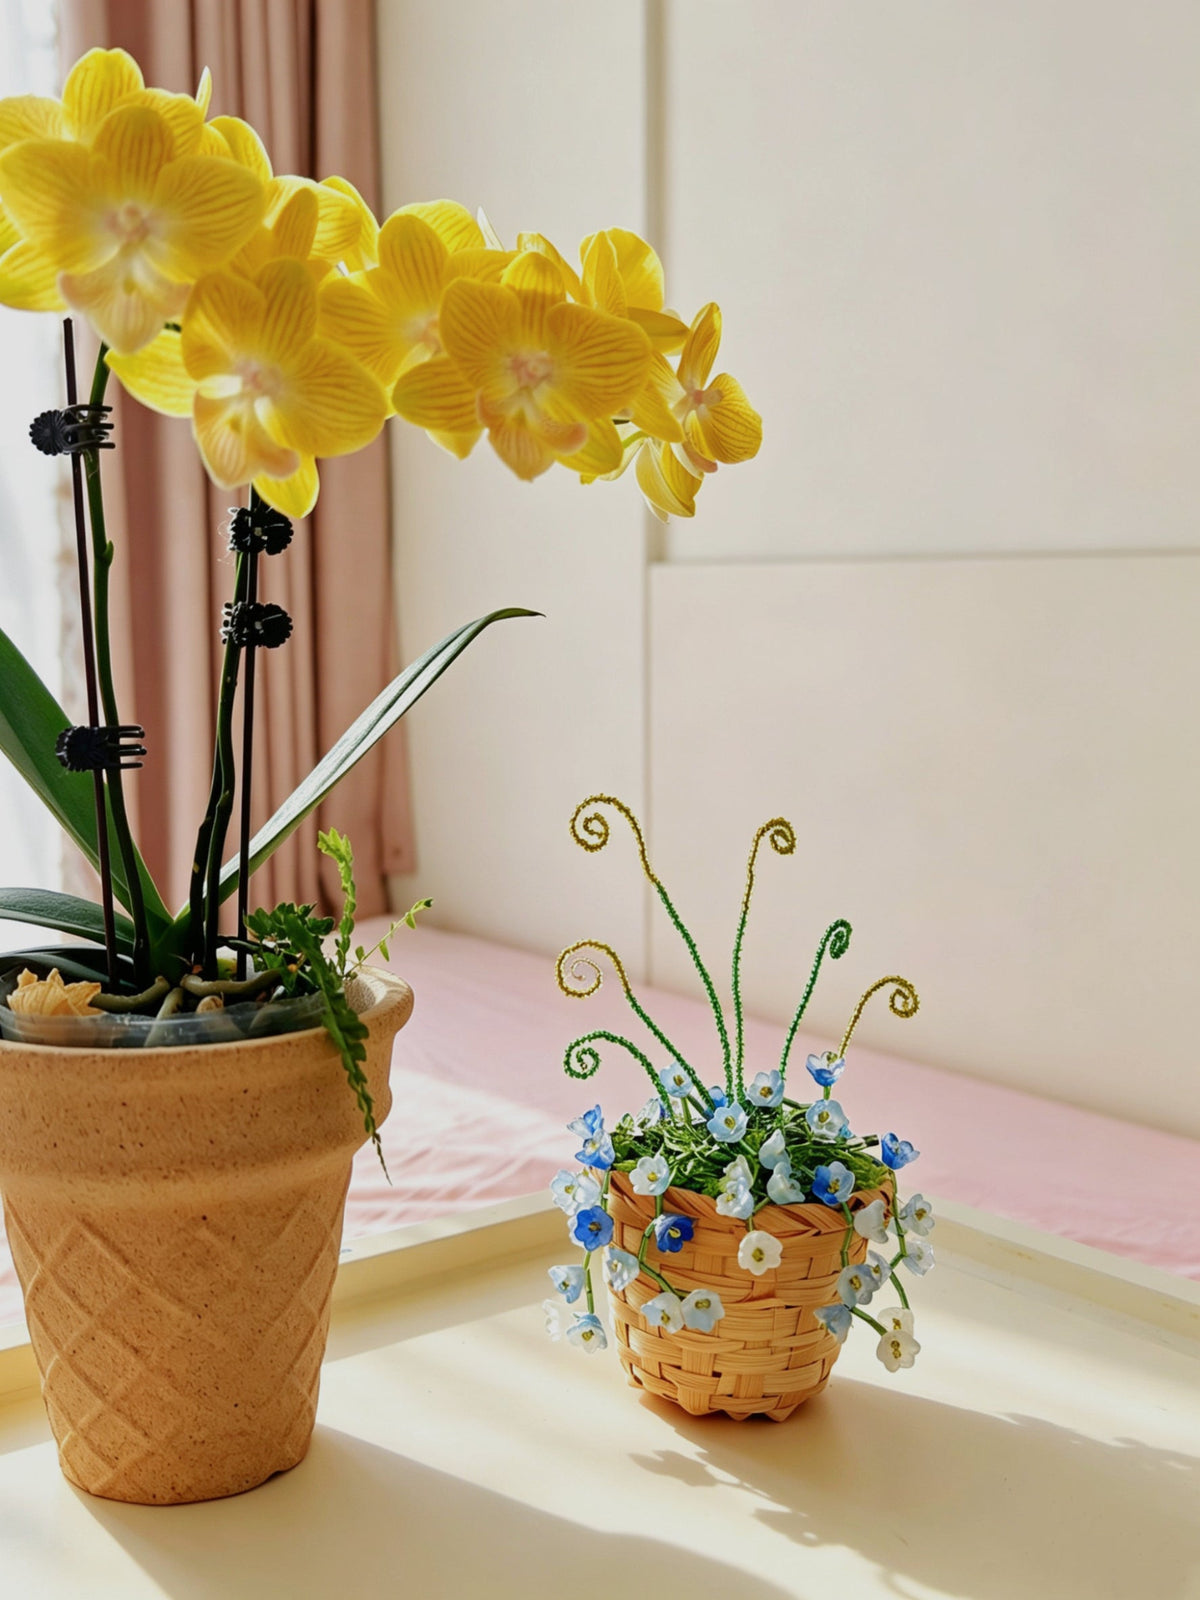
A Little Bluebell Garden That Never Wilts
Delicate flowers and curled vines add a soft botanical detail to shelves, windows, and quiet corners.
Frequently asked questions
Is this DIY kit beginner-friendly?
Yes. The project uses simple, repeated steps and includes a step-by-step video tutorial. No previous beading experience is required, making it a comfortable first beading project.
What is included in the DIY Kit?
The DIY Kit includes the materials needed for the selected design plus access to the video tutorial. Because contents vary by design, check the “What’s included” section above for the exact list.
How long does it take to complete?
Project time depends on the size and fullness of the design. Mini and Classic projects generally take less time than fuller designs, and you can pause at any point and continue later.
Is it suitable as a gift?
Yes. It is a thoughtful choice for craft lovers, beginners, and anyone who enjoys making decorative pieces by hand.
When will my order ship, and do you offer free shipping?
Orders are hand-prepared and dispatched within 1–3 business days. Standard shipping transit then takes 7–11 business days, for a total of about 8–14 business days from the date you order. We ship worldwide. Free standard shipping applies to 26 countries — the United States, Canada, the United Kingdom, Australia, New Zealand, India, and most of Europe. A flat US$6.99 standard rate applies to all other destinations; the exact shipping charge and currency are always shown at checkout before payment.
What makes the Bluebell design different?
This basket-style design combines soft blue and milky-white flower beads with green stems and curled vines for a more delicate, floral look.
Where can I display it?
Hang it near a window, above a desk, or in a cozy corner where the bluebell branches can be seen clearly.
Beginner-friendly DIY beaded plant kit with detailed video tutorials.