

How to Make a Beaded Flower: Easy Wire Tutorial
What Is a Beaded Flower?
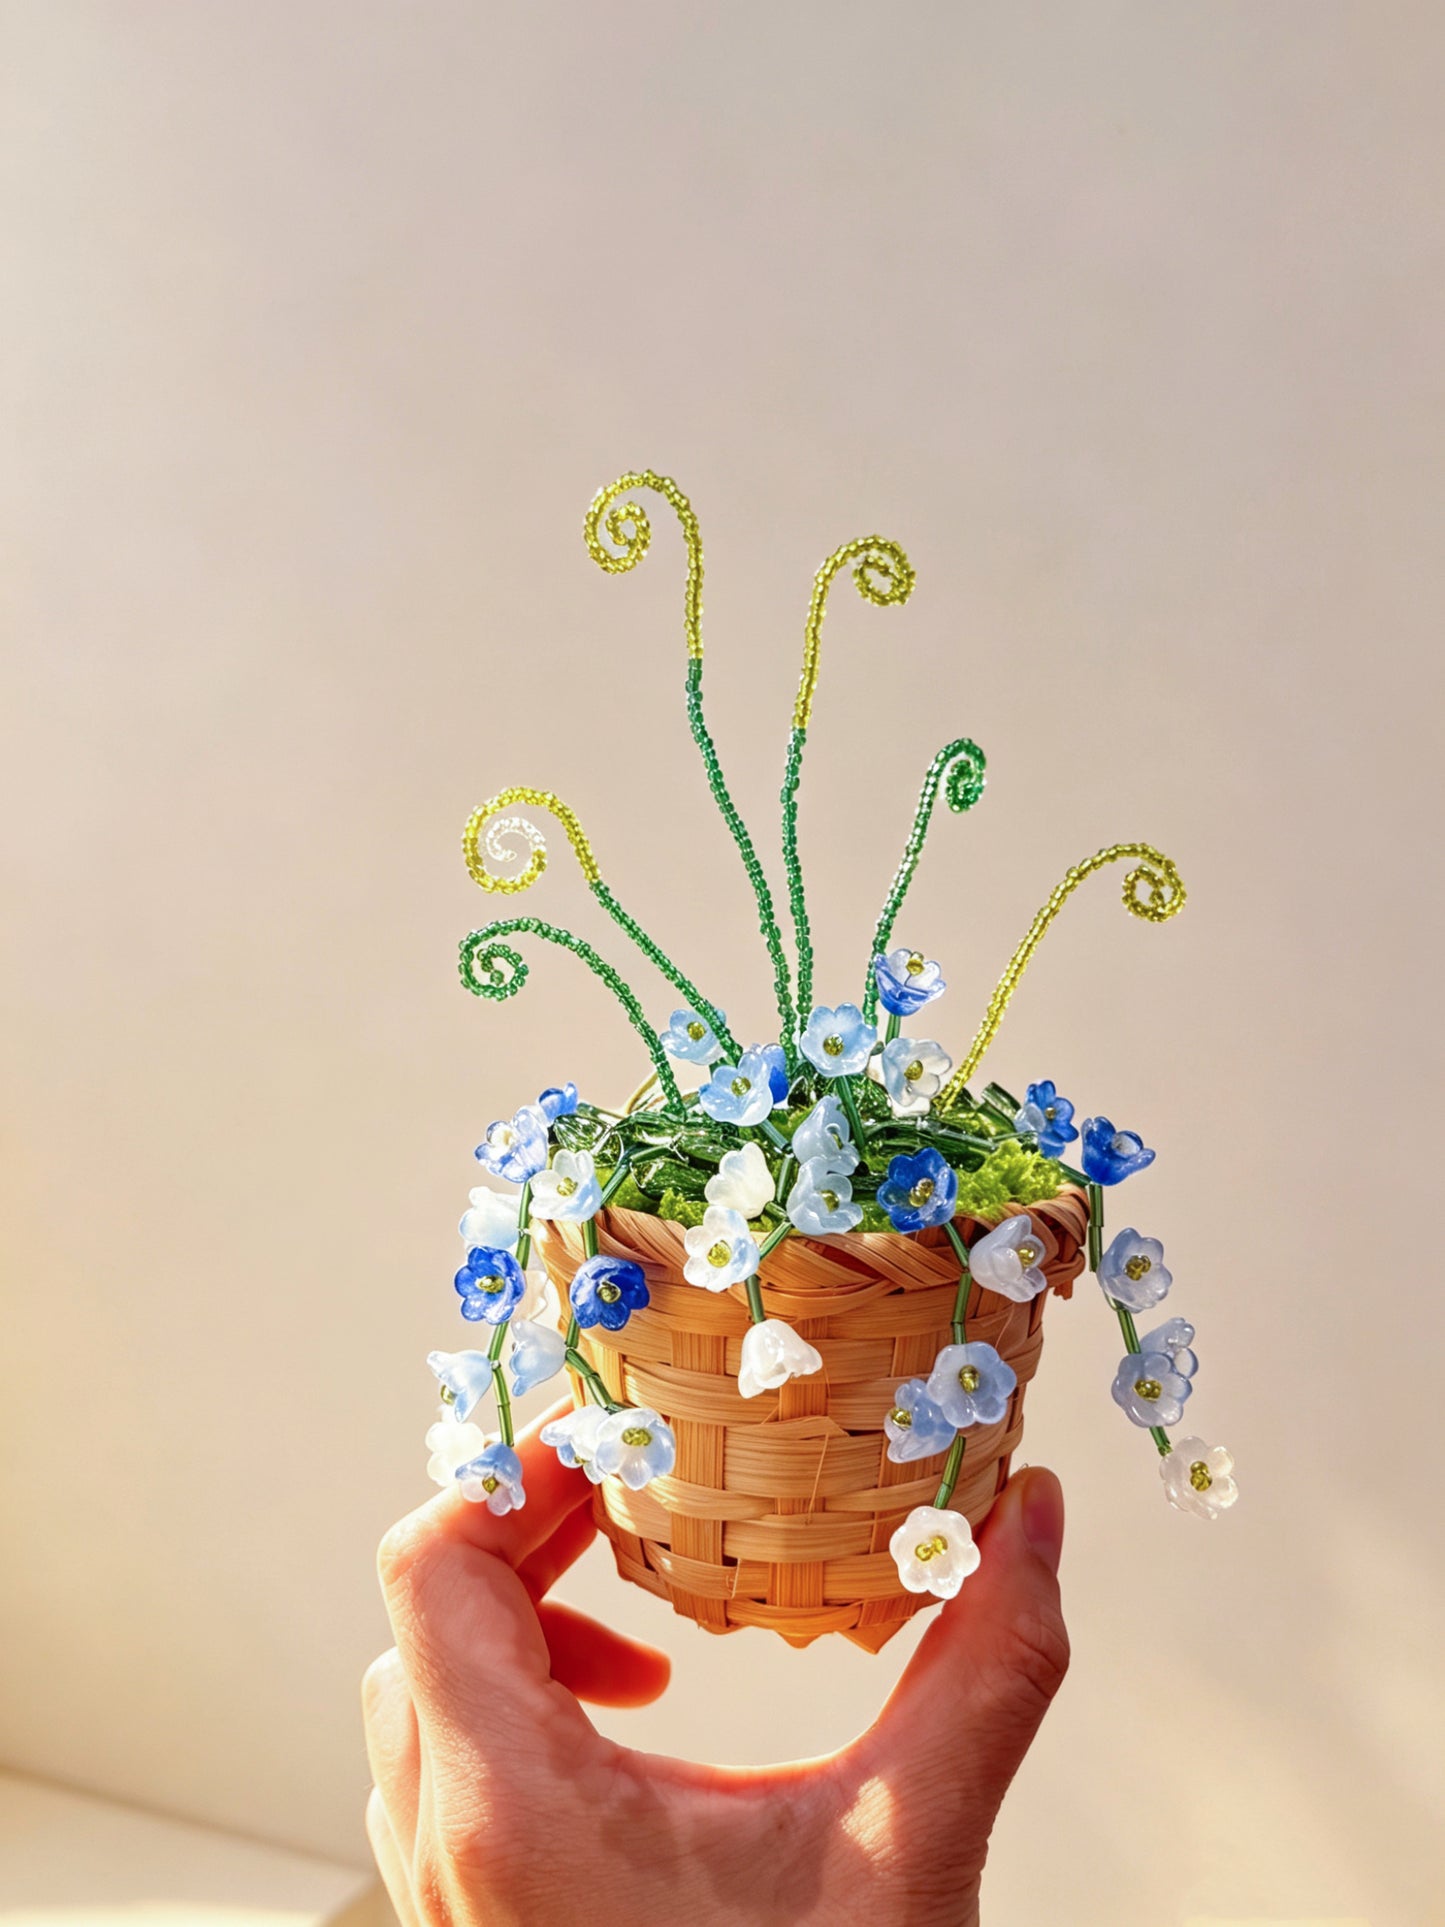
A beaded flower is a flower-shaped form made by arranging beads on wire, then bending and joining those beaded sections into petals, leaves, stems, or clusters. There are many ways to make one, from intricate seed-bead weaving to simple large-bead construction. At Bobble Sprig, we use 8mm K9 crystal beads and a direct-stringing technique: the beads slide straight onto wire, and the wire itself creates the structure of the flower.
If you searched for how to make a flower bead or how to make a bead flower, this is a beginner-friendly place to start. Instead of learning a complex weaving pattern, you work with larger beads that are easy to see and handle. String them, bend the wire into shape, twist where needed, and gradually build the flower.
A bead flower pattern in this style is less about following one universal bead count and more about understanding structure. A tiny individual bloom, a rounded hydrangea cluster, and a hanging bell-shaped flower may all use the same basic string-and-shape technique, but the way their sections are arranged is different. You can see more finished forms in our beaded plants collection.
The result has a different character from fabric or dried flowers: the wire holds a clear botanical silhouette while the faceted beads catch changing light. There is no watering, nothing wilts, and a little sparkle appears whenever the piece catches the sun.
What's in the Kit
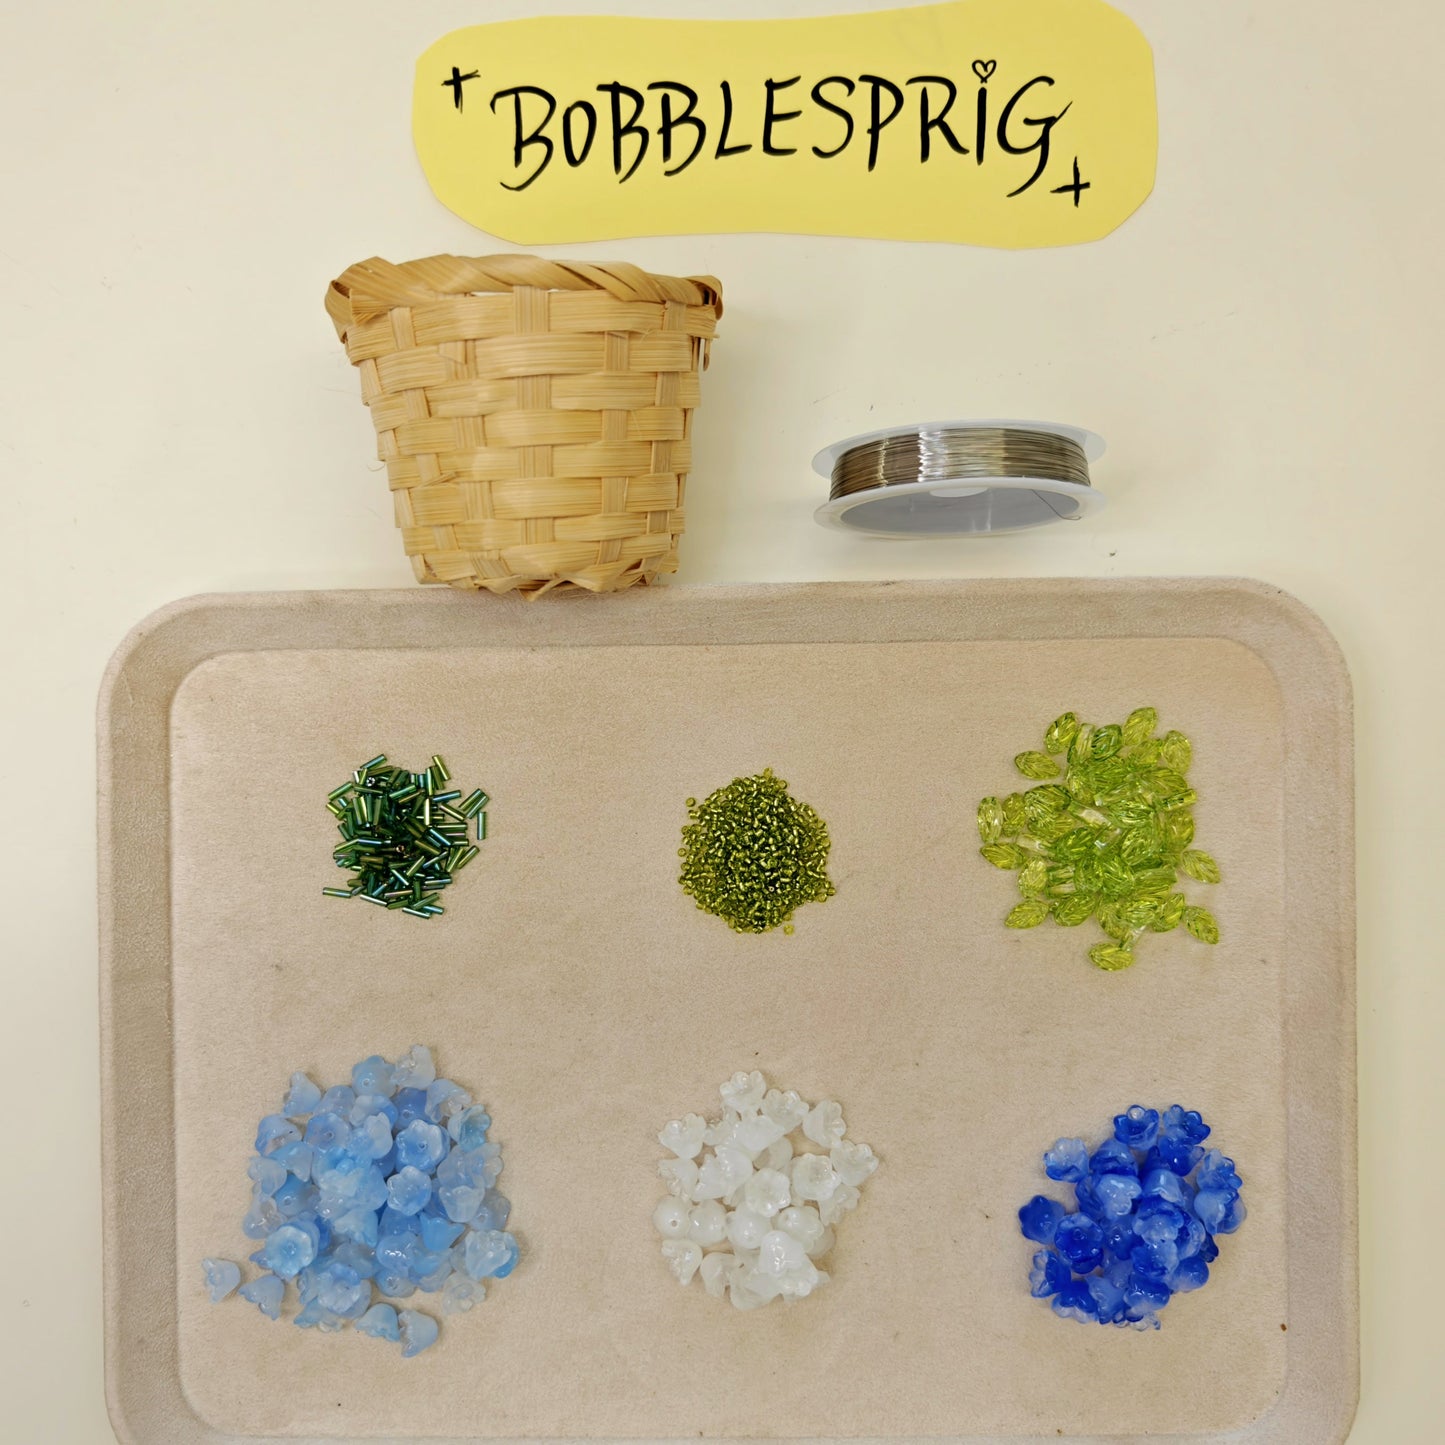
Our beaded flower DIY kits are full-material kits. The beads, wire, flower pot or basket, and the other components needed for that specific design are already included and matched for you. You can open the box and begin making without shopping for separate craft materials first.
The only tool you need to provide is a pair of scissors. For some designs, pliers are optional rather than required; they can simply make bending, gripping, or finishing the wire a little more comfortable. If you prefer having dedicated tools at your craft table, our jewelry pliers set is designed for beading and wire work.
If you already understand the technique and want to experiment with your own color combinations, loose K9 glass teardrop beads give you more freedom to mix shades or develop a flower outside a complete kit. They can also be useful if you enjoy browsing diy jewellery beads and adapting botanical beadwork into smaller accessories.
For a first project, though, a prepared kit removes most of the guesswork. You can focus on learning how the wire behaves and how the flower takes shape rather than wondering whether your beads, wire, and container will work together.
Three Flower Shapes, One Technique
The easiest way to understand how to make flowers with wire and beads is to stop thinking of every flower as the same pattern. The core technique stays familiar, but the flower shape changes according to how the beaded sections are grouped.
Single-Stem Small Flowers
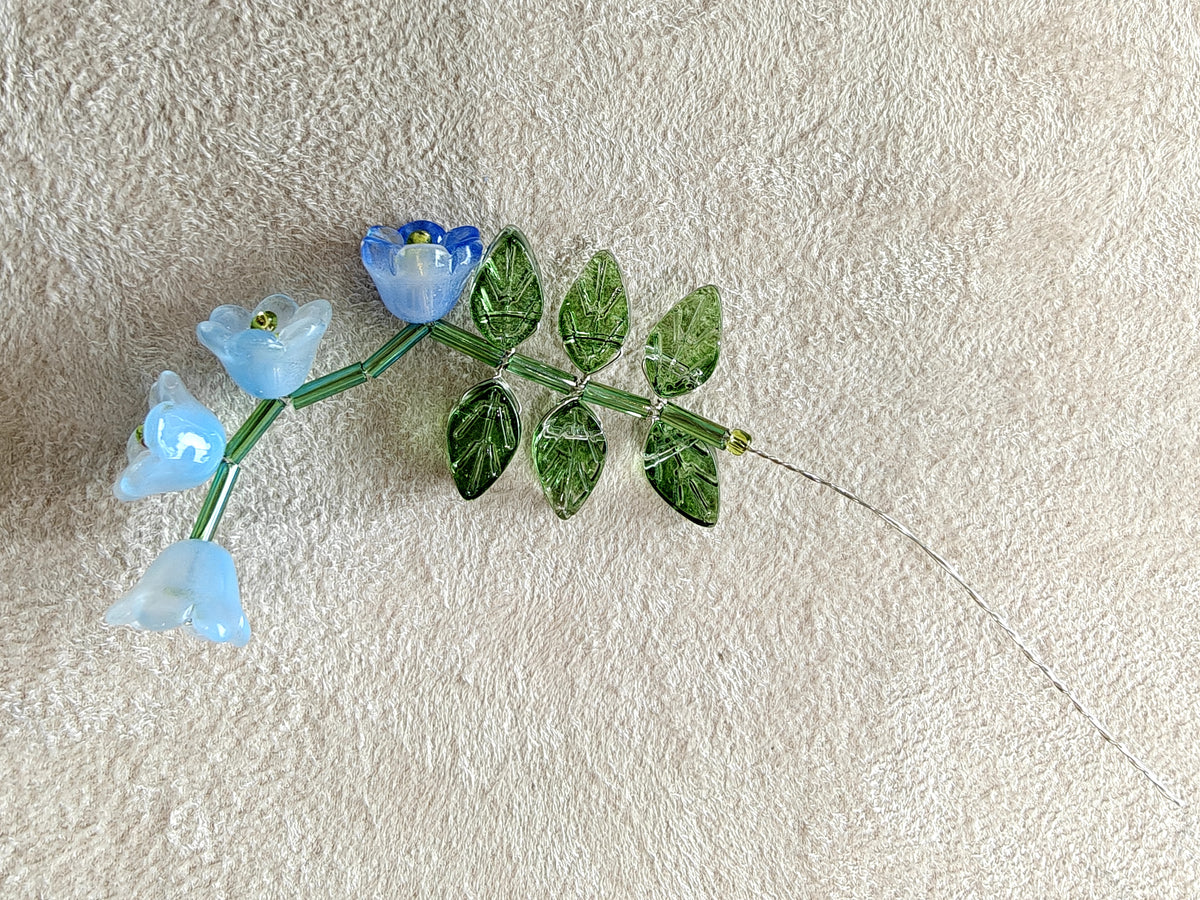
Small flowers such as forget-me-nots are built around clearly defined individual blooms. You make the flower sections, shape them, and then bring several finished blooms together along stems. Our blue forget-me-not beaded plant kit takes about 45–60 minutes and is beginner-friendly.
Rounded Flower Clusters
Hydrangea-style forms rely on repetition and grouping. Instead of one bloom carrying the entire visual shape, multiple small flower elements are brought close together to create a fuller rounded head. The Hydrangea Fridge Magnet takes about 45–60 minutes per magnet and is also beginner-friendly. The useful lesson here is spacing: small changes in how closely you gather each section can make the cluster feel tighter or airier without changing the basic wire technique.
Bell and Hanging Flower Shapes
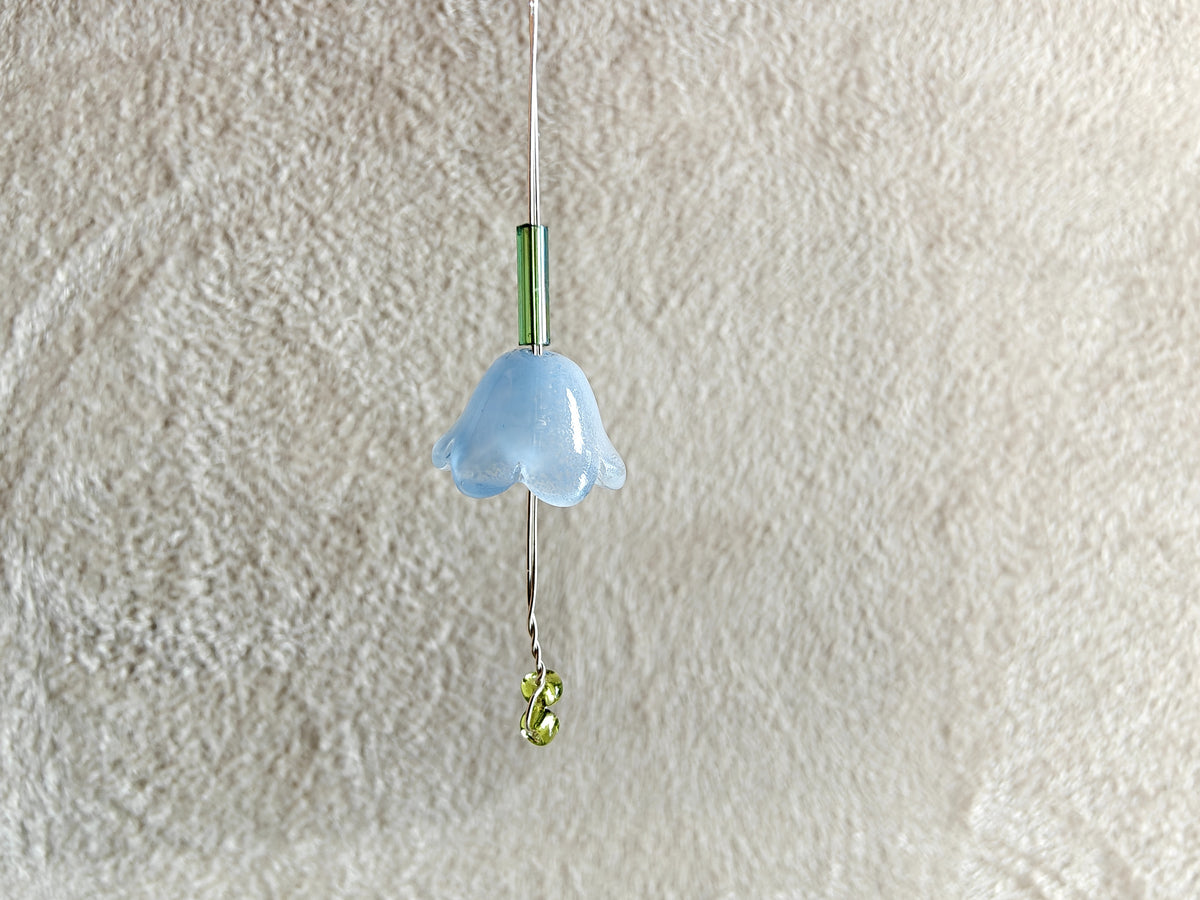
For bell-like or drooping flowers, such as bluebell-inspired forms, the direction changes. Rather than opening everything outward or upward, the flower sections are positioned to hang below the stem. That downward orientation is what creates the recognizable silhouette.
The White Daffodil is another example of how structure can change while the basic skill remains approachable; its measured making time is about 40 minutes. If you would rather start with a small potted arrangement and practice building several floral elements into one display, the mini beaded flower pot kit is another way to explore the technique.
This is why a good beaded flower tutorial should teach you to read the flower's shape, not simply memorize a universal number of beads. Petal direction, grouping, stem placement, and the balance between open space and clustered sections matter more than forcing different flowers into one formula.
Step-by-Step: String Your First Flower
If you want a simple beaded flower tutorial free of complicated weaving terminology, begin with the four actions below: string, bend, shape, and join. The exact arrangement will depend on the flower you are making, but the movement of the wire is consistent.
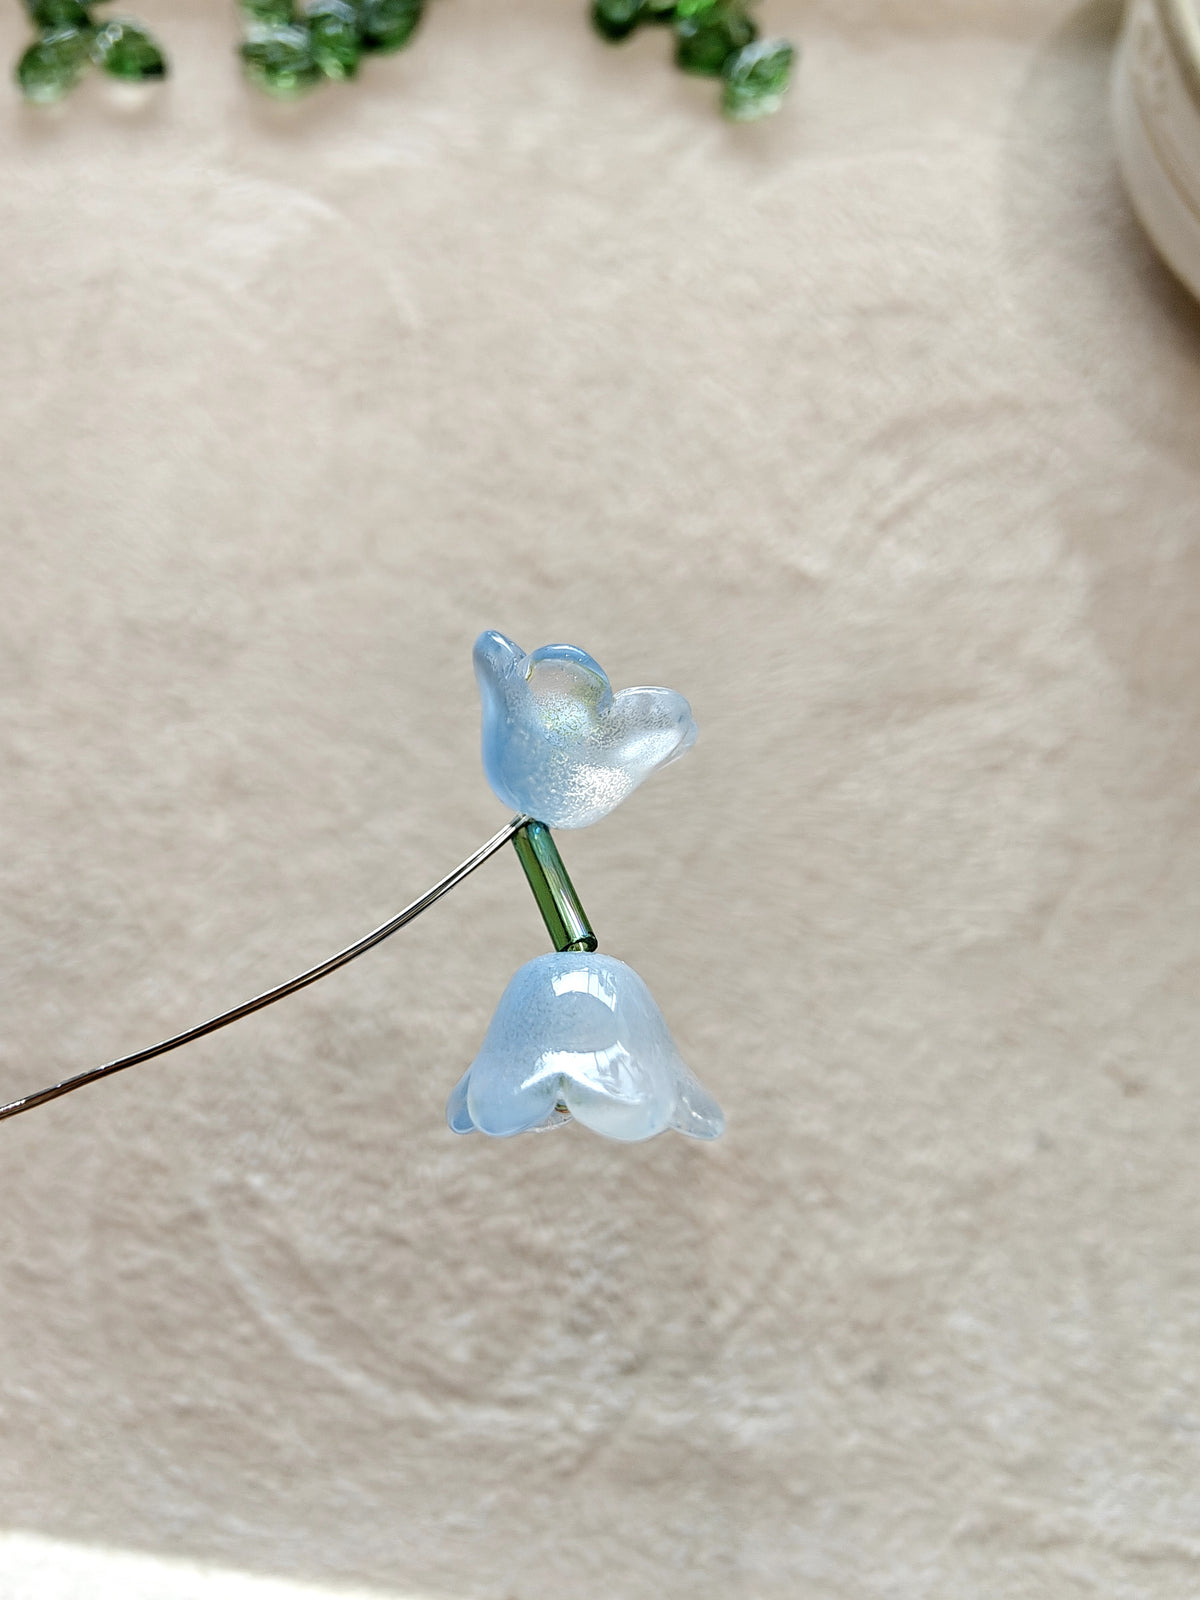
- String the beads. Slide your 8mm K9 beads directly onto the wire in the order shown for your chosen design. Keep the beads together, but do not force them so tightly that the wire becomes difficult to bend.
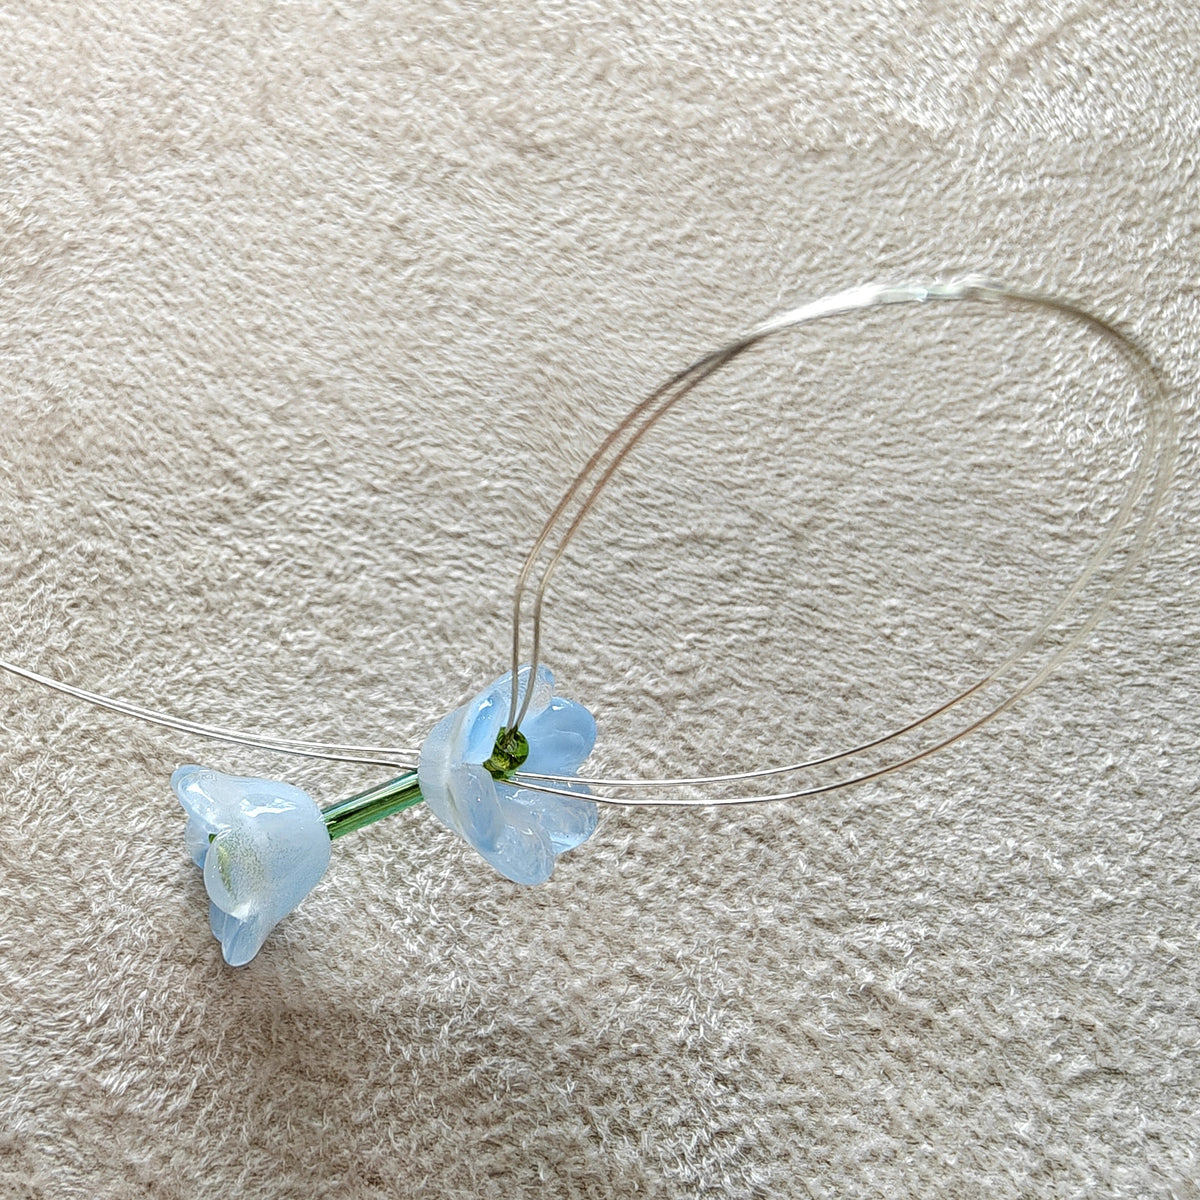
- Bend the beaded section into the flower shape. Curve or fold the wire where the petal or bloom needs to turn. Let the beads define the visible outline while the wire acts as the hidden framework.
- Secure the shape. Bring the wire ends or adjoining sections together and twist or wrap them as directed. The goal is a stable form, not excessive tightening.
- Adjust the petals or bloom sections. Before attaching everything permanently, gently reposition the beaded sections. Small adjustments can make the flower look more open, compact, upright, or naturally irregular.
- Combine the flower elements. Repeat the same construction method as needed for your design, then gather the completed elements into the final flower or cluster.
This direct-stringing method is one straightforward answer to how to make wire beaded flowers or how to make beaded wire flowers: the wire is both your stringing material and your structure, so you build the flower as you bead rather than making a separate framework first.
Step-by-Step: Stem, Leaves & Assembly
- Build the stem. Once the flower head is secure, bring its wire sections together so they form a clean central stem. Straighten the stem gradually with your fingers rather than pulling hard on the finished flower.
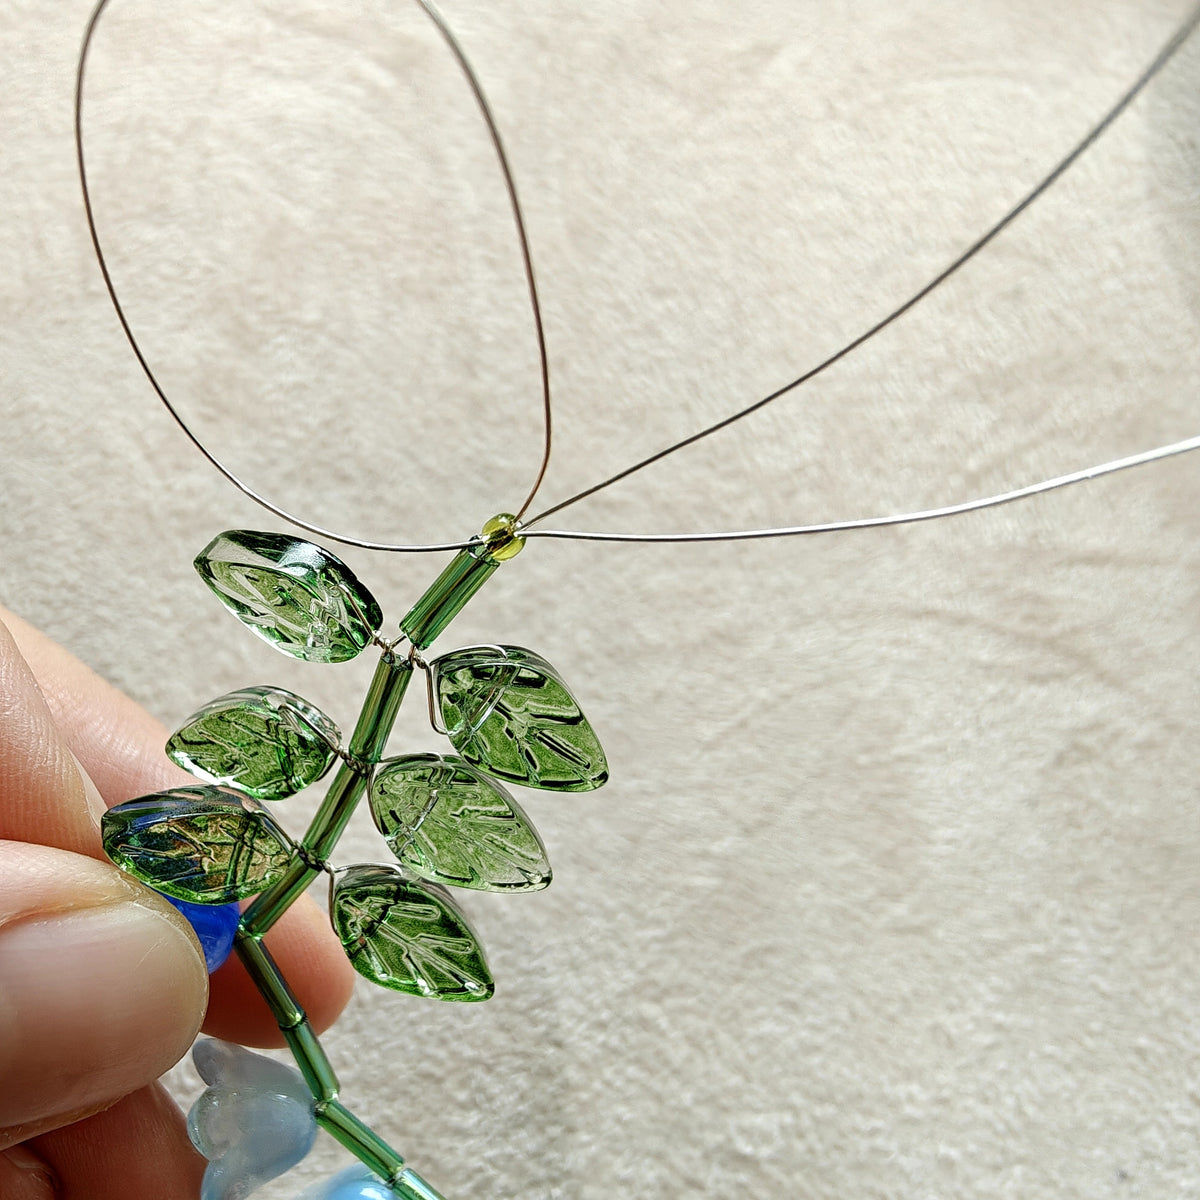
- Add and position the leaves. Make the leaf sections using the same direct-stringing principle, then attach them to the stem according to the design. Angle them slightly differently from one another so the plant does not feel unnaturally flat.
- Assemble the final design. Arrange the stems, flowers, and leaves before placing them into the pot, basket, magnet base, or other final format included with your kit. Make the final visual adjustments only after the main structure feels secure.
When people ask how to make a flower with beads and wire or how to make flowers from beads and wire, this assembly stage is often the missing piece. A flower is not finished just because the beads are threaded. The final character comes from how the stem bends, where the leaves sit, and how the separate beaded sections relate to one another.
How This Differs from French Beaded Flowers
If you arrived here after searching for a french beaded flowers tutorial, you may notice that this technique looks quite different. Traditional French beaded flowers commonly use very small seed beads strung onto wire and shaped through repeated rows, loops, or arcs. The beadwork itself builds a dense petal surface.
Our approach uses larger 8mm K9 crystal beads threaded directly onto wire. Instead of filling an entire petal with rows of tiny beads, the larger beads become the visible outline and body of the botanical form. This generally means fewer repetitive weaving motions and makes the technique easier to see and handle for a beginner.
Neither method needs to replace the other. French beading can create wonderfully detailed, intricate flowers, while large-bead direct stringing creates a lighter, more open structure with strong sparkle and a shorter learning curve. If you enjoy French beading already, this can feel like a relaxed neighboring craft; if you are completely new to beadwork, it offers a simpler way to understand how to make flowers with wire and beads before exploring more detailed techniques.
Turn Your Beaded Flower into Jewelry
The same flower-building idea can also be scaled into wearable pieces. Instead of placing a finished bloom on a long stem or inside a pot, make a smaller flower element and leave enough wire at the base to connect it securely to jewelry findings.
Beaded Flower Bracelet Charm
A simple bead flower bracelet tutorial can use a small finished bloom as a charm rather than turning the entire bracelet into a flower. Shape the bloom first, finish the wire carefully so there are no sharp ends, then connect it to a suitable bracelet component. If you are adapting a flower bead bracelet pattern, pay attention to weight as well as appearance: a flower designed for home decor may need to be simplified before it feels comfortable on the wrist.
Beaded Flower Earrings
For earrings, think even smaller and lighter. A single compact bloom or small hanging beaded element can be attached to an appropriate earring finding after the wire ends are safely finished. The principle is still the same—string, shape, secure, connect—but the final object changes how much movement and weight you want.
This is one reason learning how to make a bead flower is useful beyond botanical decor. Once you understand how the wire controls shape, the same construction language can move between plants, charms, ornaments, and jewelry.
FAQ
Do I need special tools?
No. Our full-material DIY kits include the beads, wire, flower pot or basket, and the other materials required for that particular design. You only need to provide scissors. Pliers are optional for some projects and may make gripping or bending wire more comfortable, but they are not a requirement for getting started.
How long does one kit take?
It depends on the flower structure. The Blue Forget-Me-Not kit takes about 45–60 minutes. The Hydrangea Fridge Magnet takes about 45–60 minutes per magnet. The White Daffodil takes about 40 minutes. These designs are beginner-friendly, but it is perfectly fine to work more slowly and enjoy the process rather than treating the suggested time as a deadline.
I'm a complete beginner — where should I start?
Start with a design whose finished shape you genuinely like. The technique is easier to learn when you can clearly see what you are building toward. Follow the project tutorial once from beginning to end, keep your first wire bends gentle, and make small adjustments only after the basic flower structure is secure.
If you would like several beginner-friendly projects in one place, explore our beginner beading collection. Once the direct-stringing technique feels familiar, different flower shapes become much easier to read and adapt.
Making beaded flowers is less about mastering one perfect formula and more about learning how beads, wire, and shape work together. Start with one bloom, let the structure guide you, and build from there. You can explore more designs in our beaded plants collection whenever you are ready for the next project.
HowTo JSON-LD
FAQPage JSON-LD


