

How to Make a Beaded Pumpkin Garden Fridge Magnet: 11-Step Tutorial
About 1 hour, plus glue curing · 11 steps. A beaded fridge magnet, one stem at a time. Make flowers, pumpkins and curling tendrils, then bring them together in a tiny garden.
Gather your little pieces.
Clear a small workspace and check your materials. The quantities below make one garden.
3 pumpkin beads · 3 yellow flowers · 8 leaf beads · 12 seed beads
Two seed beads per flower or pumpkin. None for the leaves. Set the spare pieces aside; you do not need the whole bag.
Short wires — 14 × about 20 cm. Fold each in half.
Main stems — 2 × 50 cm. Measure before folding.
Use 0.3 mm stainless-steel craft wire.
You will also need — 1 small pot · High-density foam · Green faux moss · Separate magnet
Have ready — Pliers · A wire cutter suitable for your wire · Scissors · A thin round rod · Your own glue
A note about glue. It is optional for planting, but required to attach the separate magnet to the back of the pot. Allow the adhesive to cure fully before display.
Step 1 · Prepare the materials and short wires
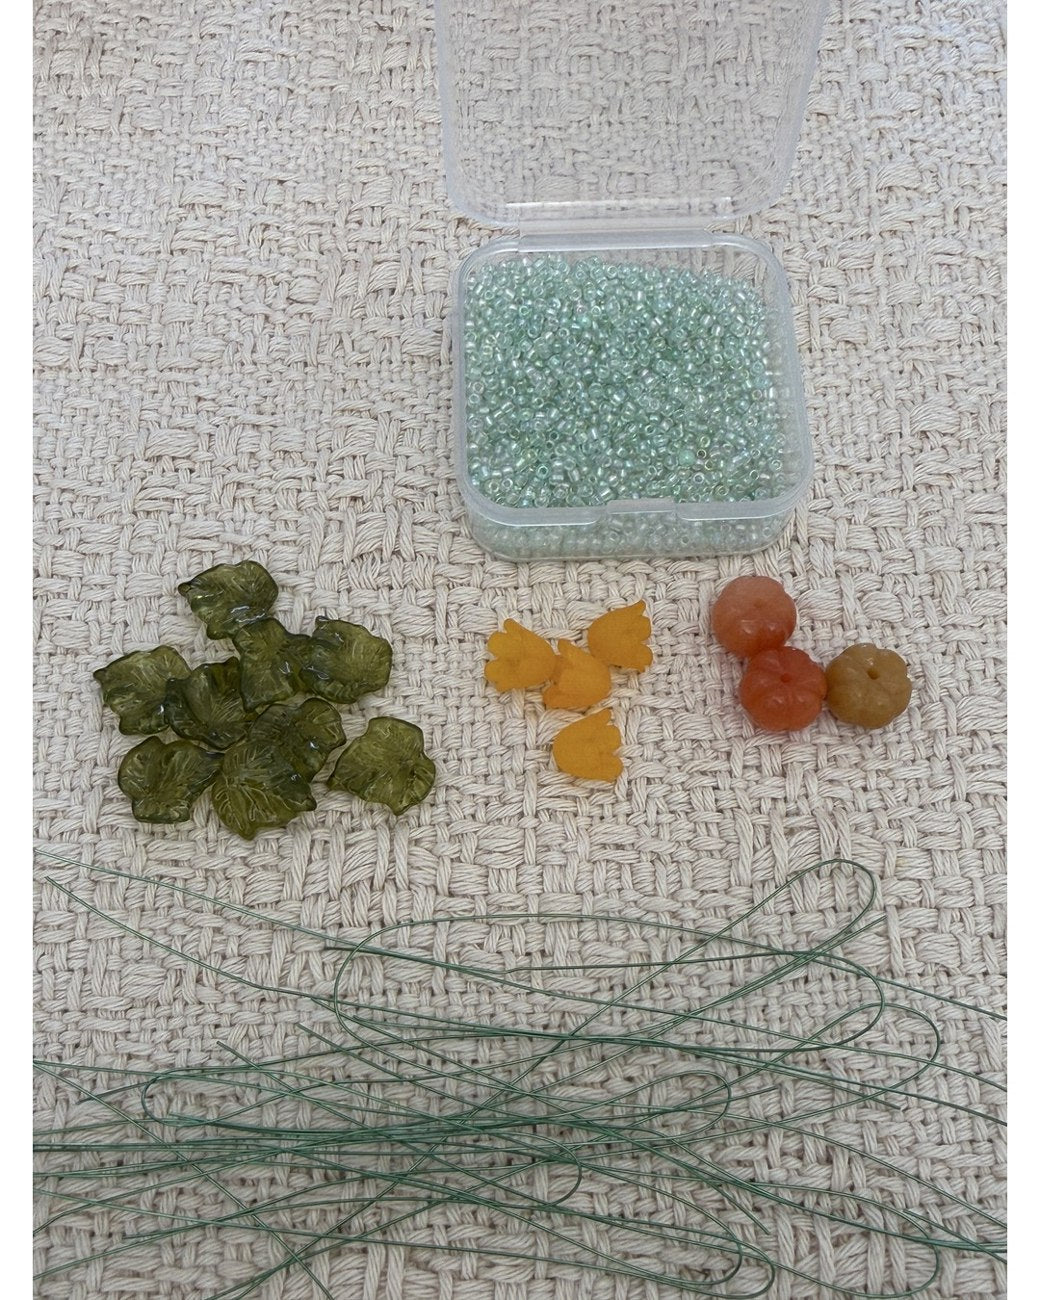
Set spare pieces aside. Use the quantities in the checklist.
- Set aside 3 pumpkin beads, 3 yellow flowers, and 8 leaf beads for one finished piece. Keep the spare pieces separate; you do not need to use everything in the bag.
- Prepare 14 pieces of 0.3 mm stainless-steel craft wire, each about 20 cm long. Fold each piece in half. These short wires will become the stems for your 14 individual pieces.
Before you move on — 3 pumpkins + 3 flowers + 8 leaves = 14 individual stems.
Step 2 · Make three flower stems
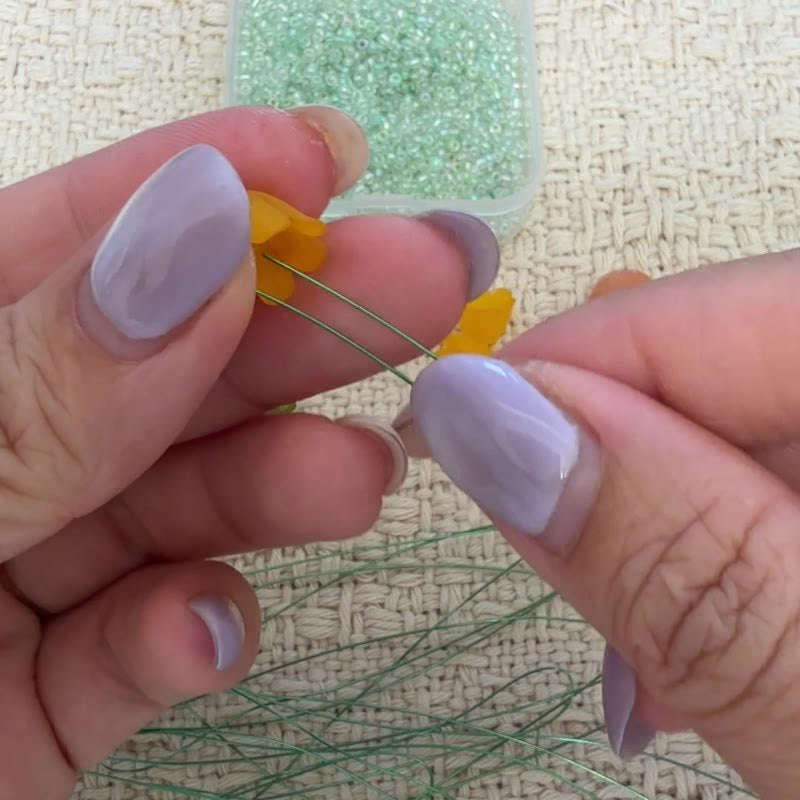
01 · Pass both wire ends through the flower.
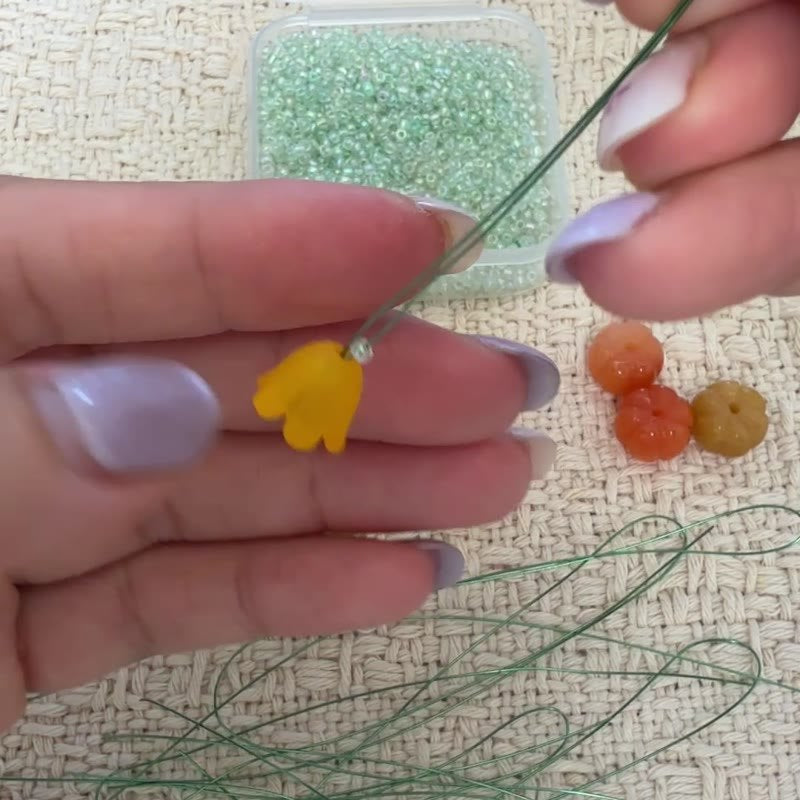
02 · Add the second seed bead to one end.
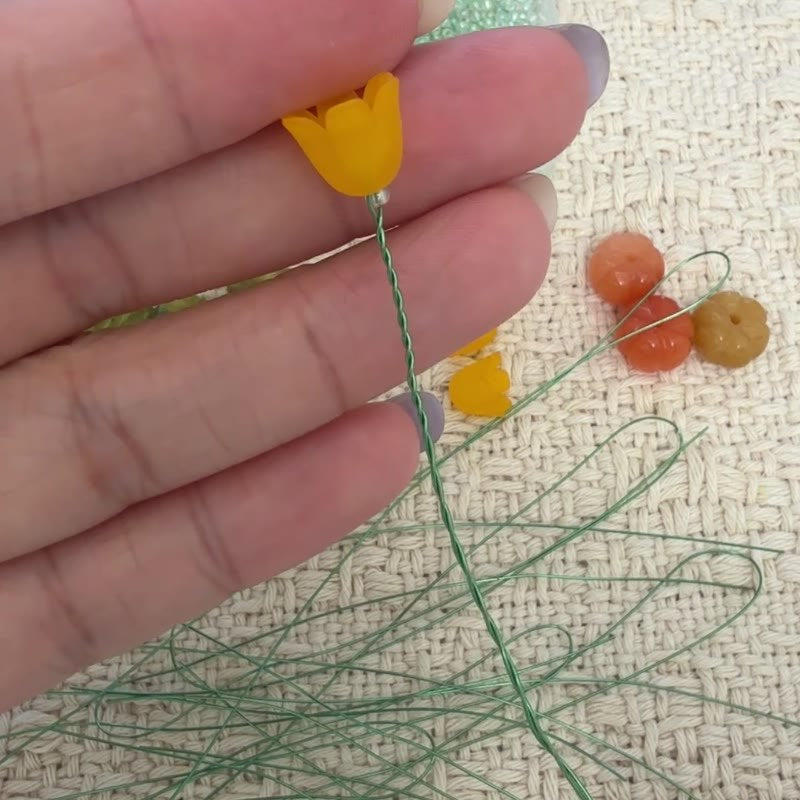
03 · Twist the stem; keep the remaining wire tails.
- Thread one seed bead onto a short wire and slide it to the fold. Bring the two wire ends together and pass both through the center hole of a yellow flower. The seed bead stays inside the open side of the flower as a stopper.
- On the other side, separate the wire ends. Thread a second seed bead onto only one end and slide it against the base of the flower.
- Hold the flower at its base and twist the two wire ends together to form the stem. Leave the remaining wire tails for assembly. Repeat to make 3 flower stems in total.
Before you move on — Both wire ends pass through the flower; only one end passes through the second seed bead.
Step 3 · Make three pumpkin stems
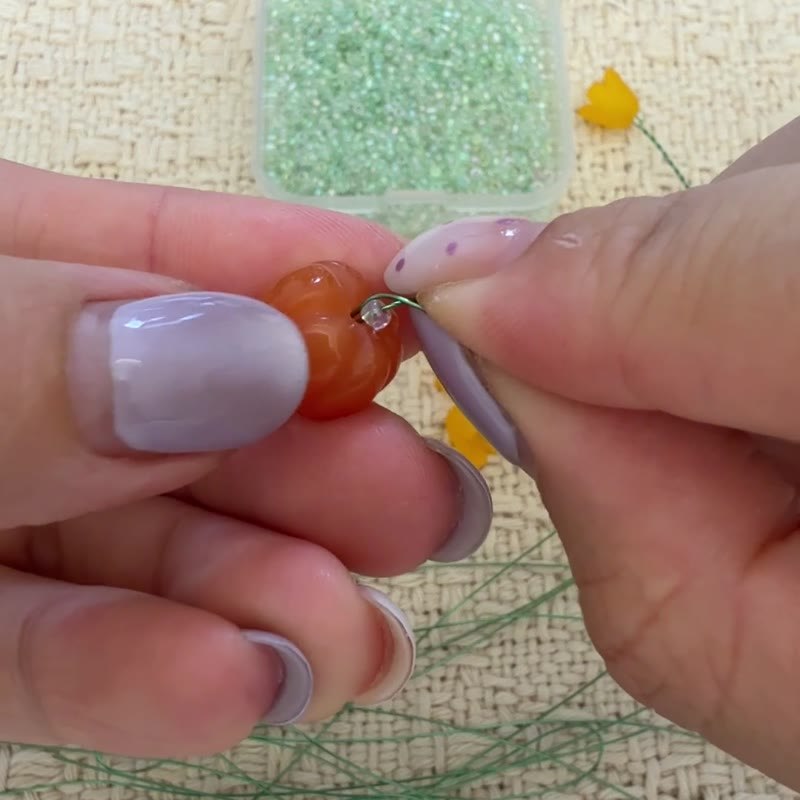
The same stopper method, repeated for all three pumpkins.
- The pumpkin beads use the same seed-bead stopper method as the flowers. Place one seed bead at the fold of a short wire, then pass both wire ends through the pumpkin hole.
- On the other side, thread a second seed bead onto one wire end and slide it against the pumpkin. Twist the wires together to form the stem, leaving wire tails for assembly. Make 3 pumpkin stems in total.
Before you move on — Each pumpkin is held between two seed beads before its stem is twisted.
Step 4 · Make eight leaf stems
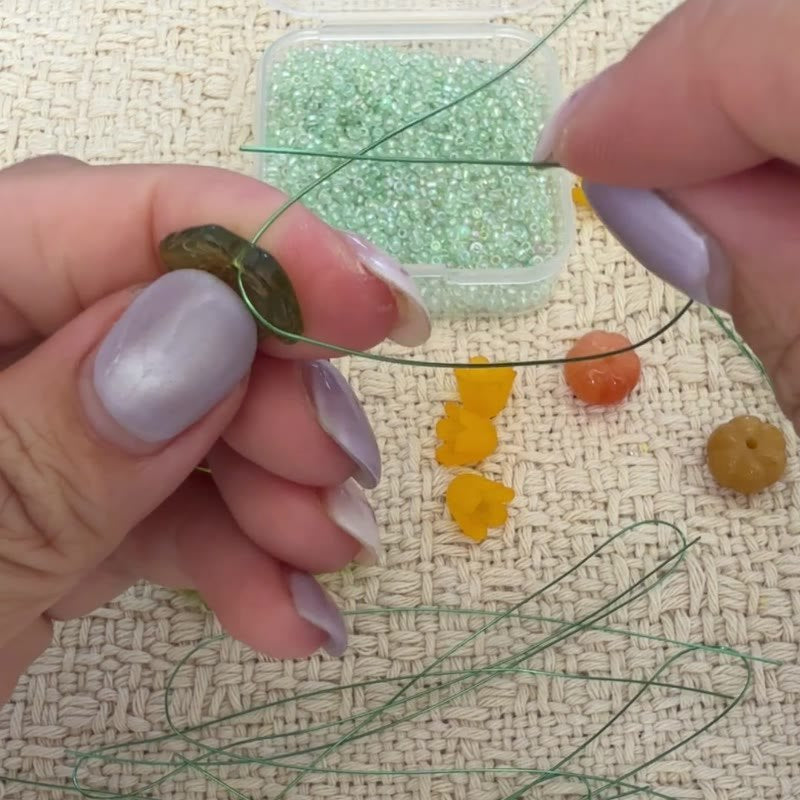
01 · Pass one wire end through, then back.
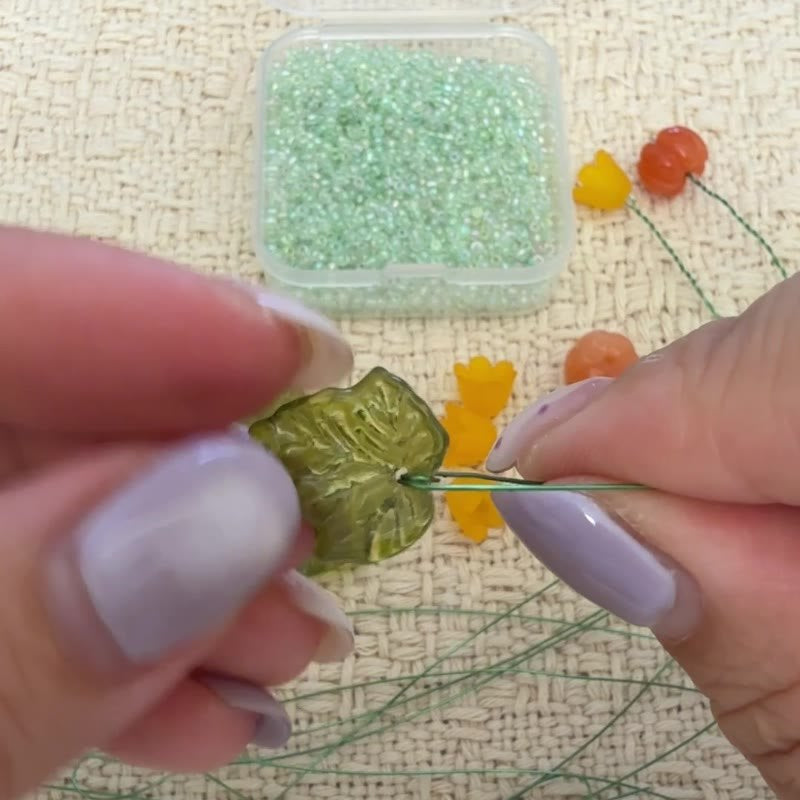
02 · Pull the securing loop snug.
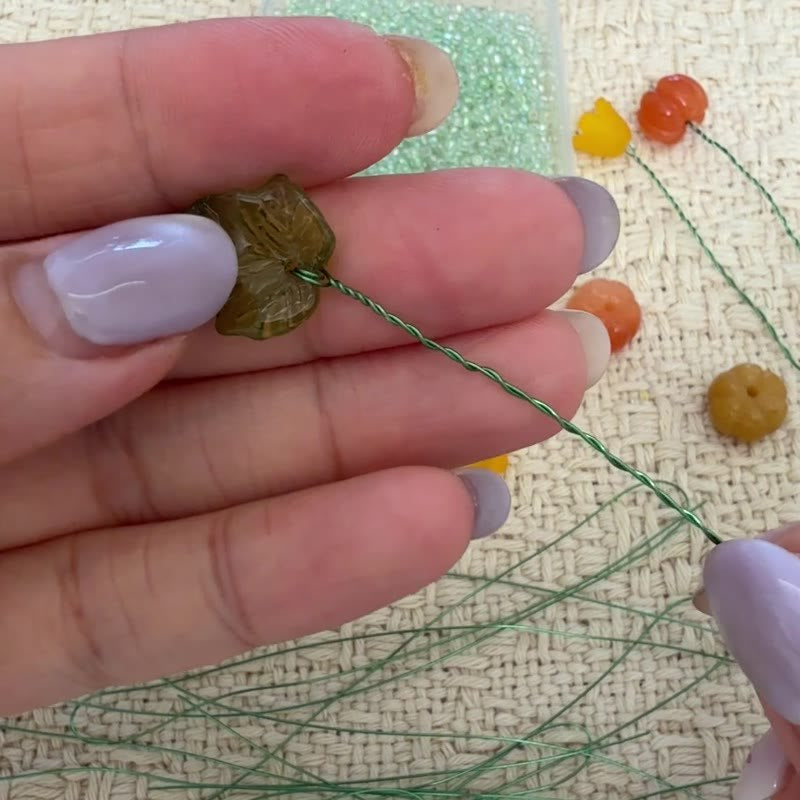
03 · Twist the stem. No seed beads.
- The leaves do not need seed beads. Pass one wire end through the hole in a leaf, then pass the wire back through to make a small securing loop.
- Pull the loop snug against the base of the leaf. Twist the two wire ends together beneath it to form the stem. Make 8 leaf stems.
- Before moving on, check that you have 3 flower stems, 3 pumpkin stems, and 8 leaf stems: 14 individual pieces altogether.
Before you move on — Leaves use a return pass, not seed-bead stoppers.
Step 5 · Shape the two main stems and tendrils
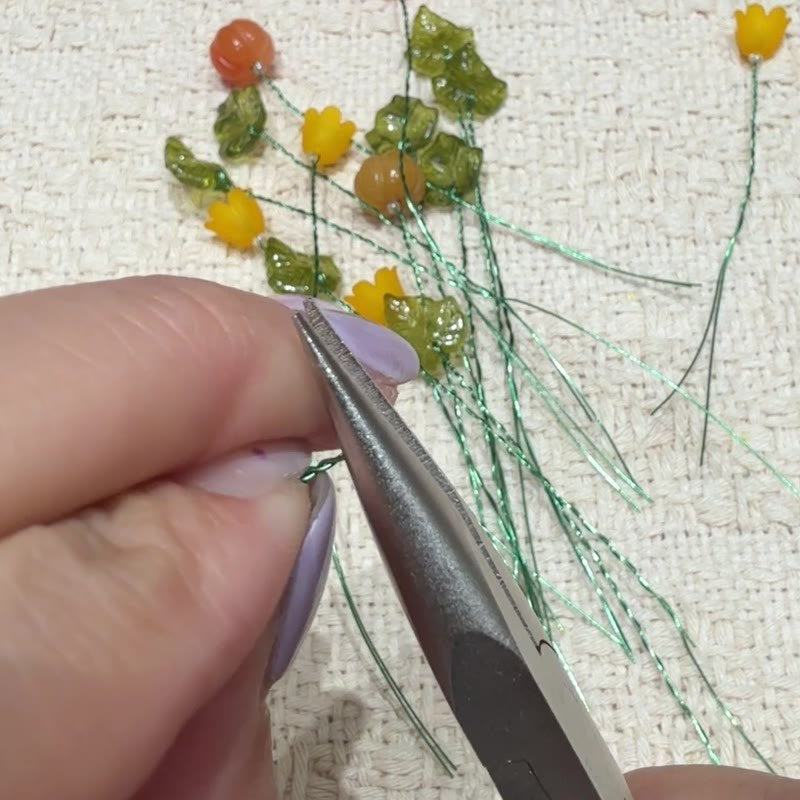
01 · Flatten the small folded loop.
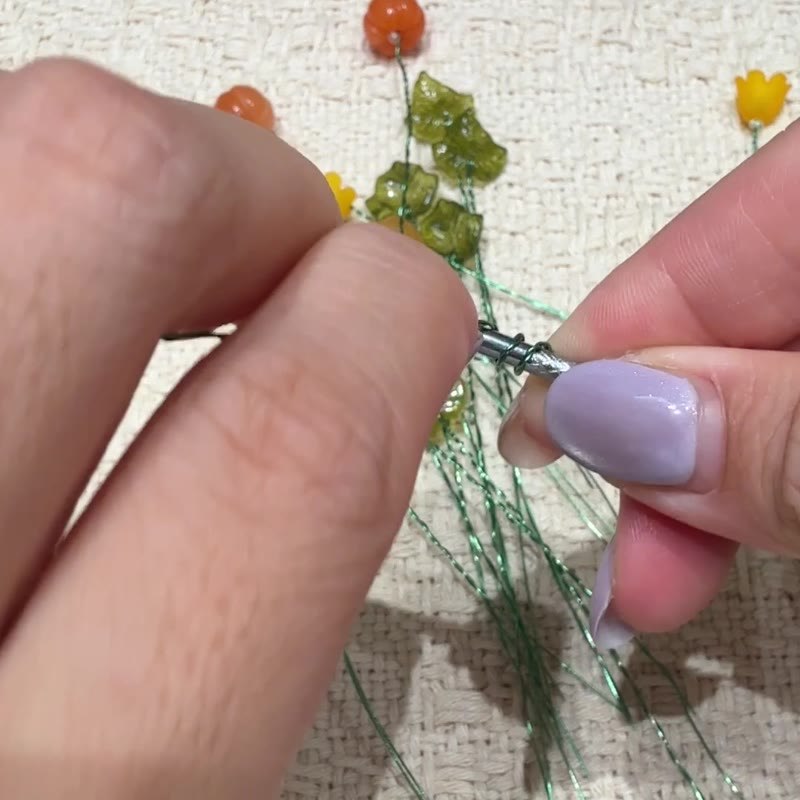
02 · Wind the upper wire around a thin rod.
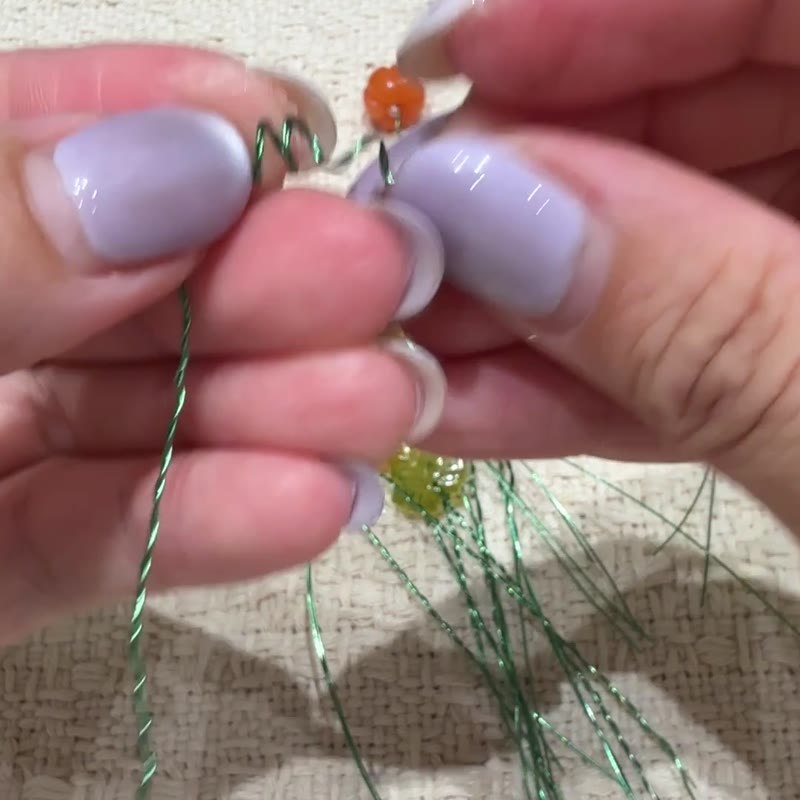
03 · Remove the rod and adjust the curl.
- Prepare 2 longer pieces of wire, each 50 cm long. Each main branch uses one of these wires. Fold the first wire in half so the two sides are 25 cm long, then twist the sides together.
- Use pliers to flatten the small loop at the folded end. Wind the upper part around a thin round rod. Slide the rod out, then adjust the coil spacing and direction to form a curling tendril. Keep the lower length for the main stem.
- Prepare the second 50 cm wire in the same way for the other branch. There is no fixed coil count to copy.
Before you move on — Cut each long wire to 50 cm before folding. The folded sides are 25 cm each.
Step 6 · Assemble two separate branches
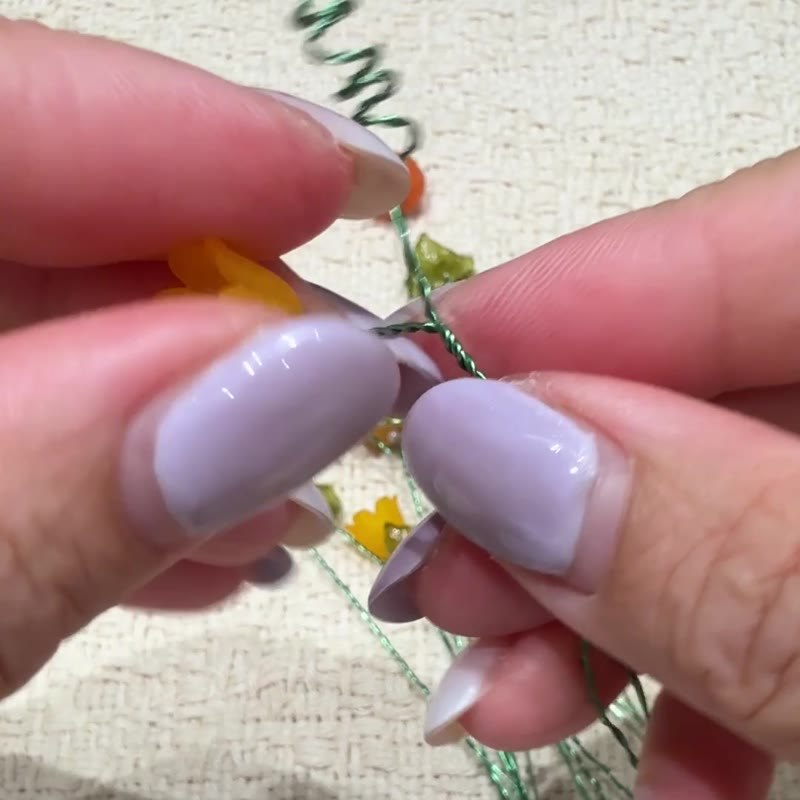
Secure each join before adding the next piece.
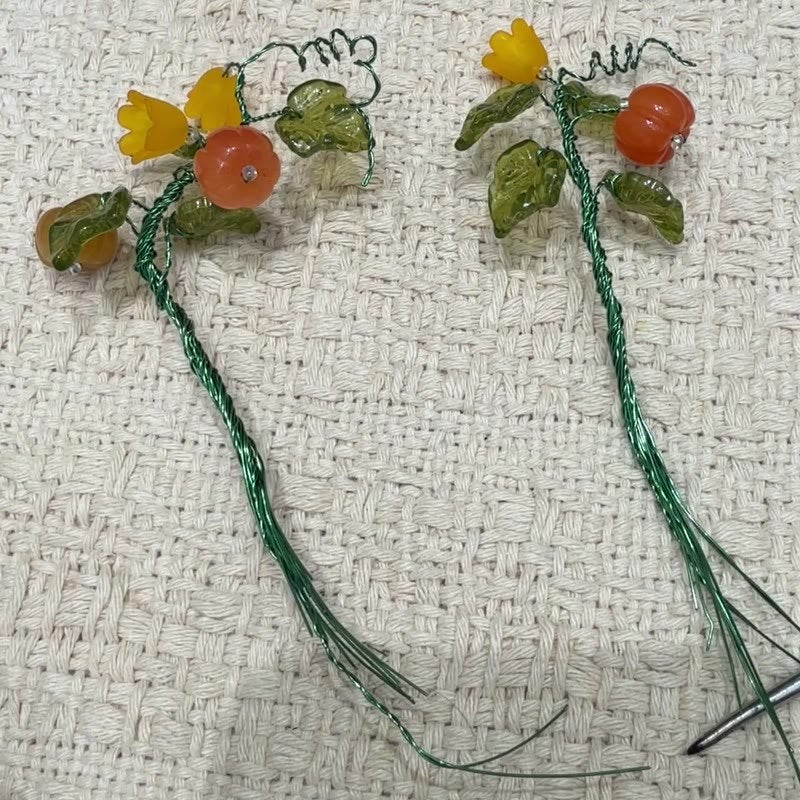
Keep both branches separate until planting.
- Place a prepared flower stem against the first main stem. Hold the join in position, then wrap the flower stem's wire tails around the main stem to secure it.
- Continue attaching the leaves, flowers, and pumpkins one at a time. Secure each join before adding the next piece. Adjust the direction and spacing as you work.
- Use the second long wire to assemble the second branch with the remaining prepared pieces. Keep the two branches separate until you plant them. Across both branches, use 3 pumpkins, 3 flowers, and 8 leaves in total.
Before you move on — Finish two separate branches. Do not twist the whole arrangement into one large bundle.
Step 7 · Fill the pot and add the faux moss
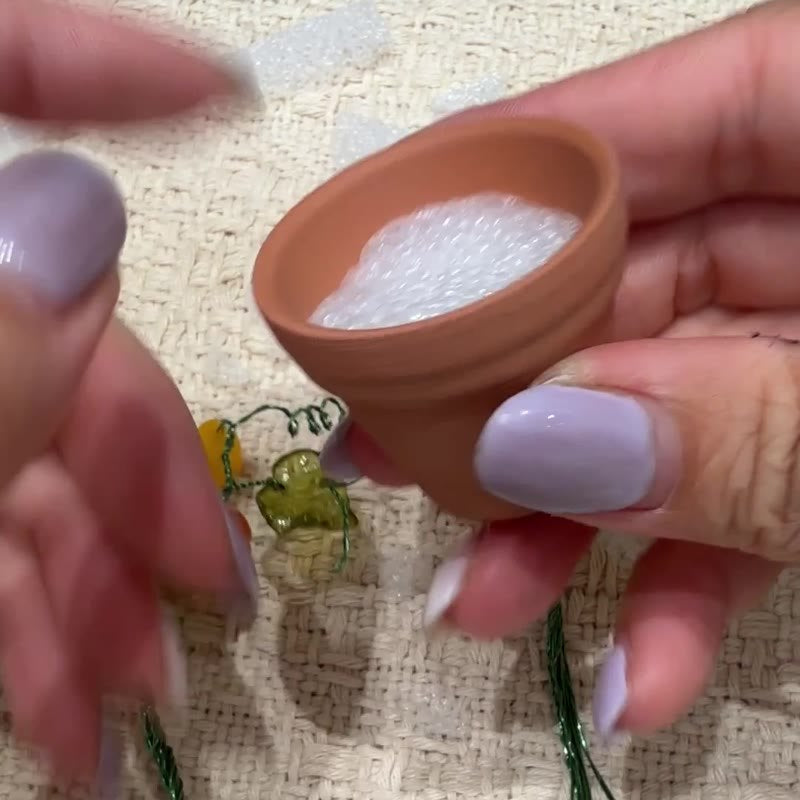
01 · Trim and fit the foam.
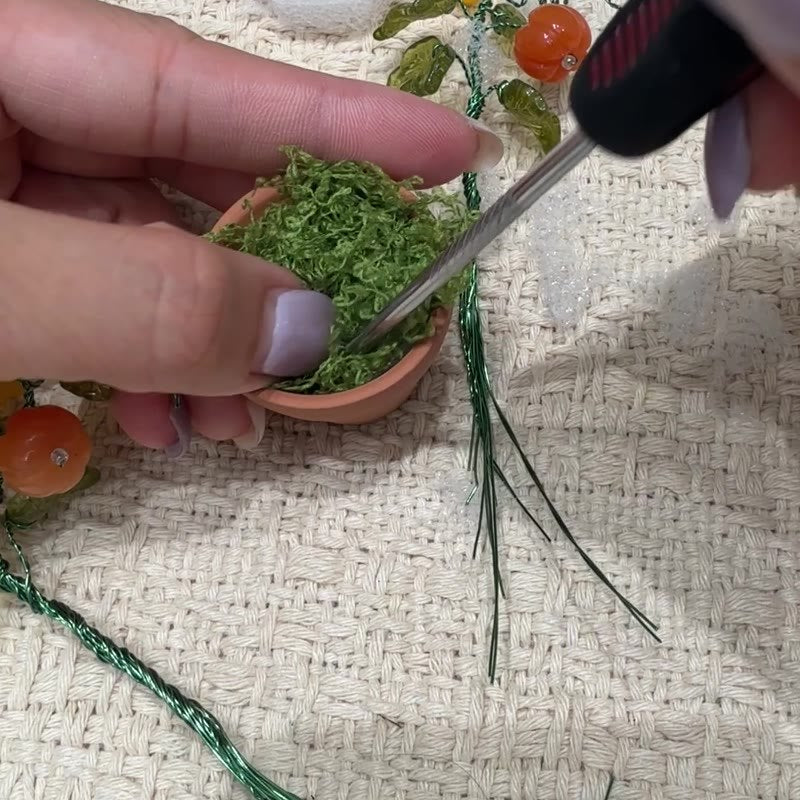
02 · Cover the foam and tuck in the edges.
- Trim the white high-density foam to fit inside the pot. Test the fit as you trim, then press the foam into place.
- Cover the top with the green faux moss fibers. Tuck the edges neatly inside the rim and arrange the surface.
- The planting and moss layer do not require glue. You may add your own glue for extra support, but attaching the magnet later does require glue.
Before you move on — The foam supports the stems, and the faux moss covers the surface.
Step 8 · Trim the wire tails and plant both branches
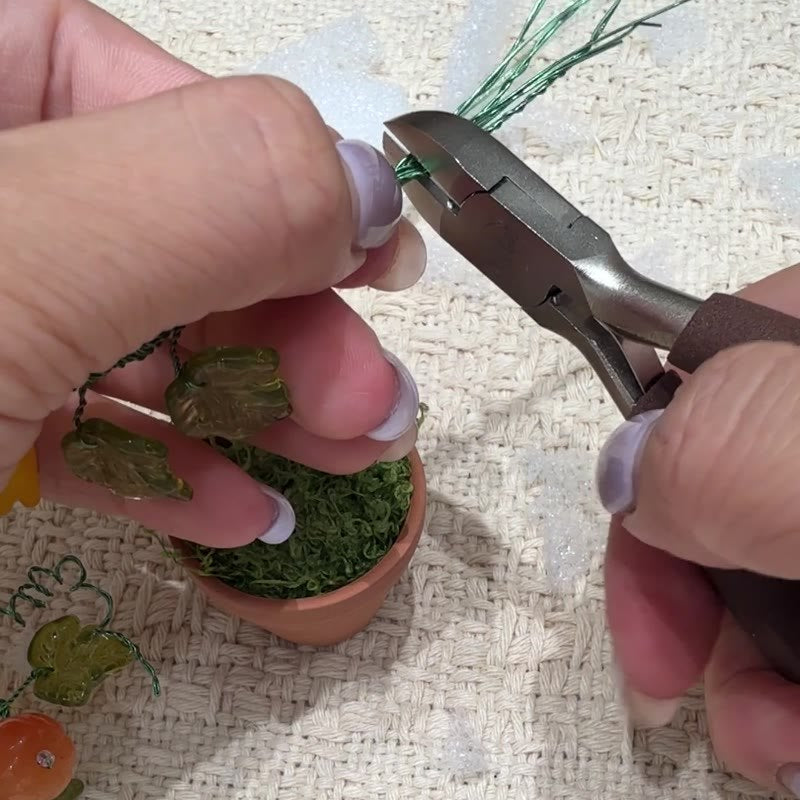
01 · Trim excess wire, leaving an anchor.
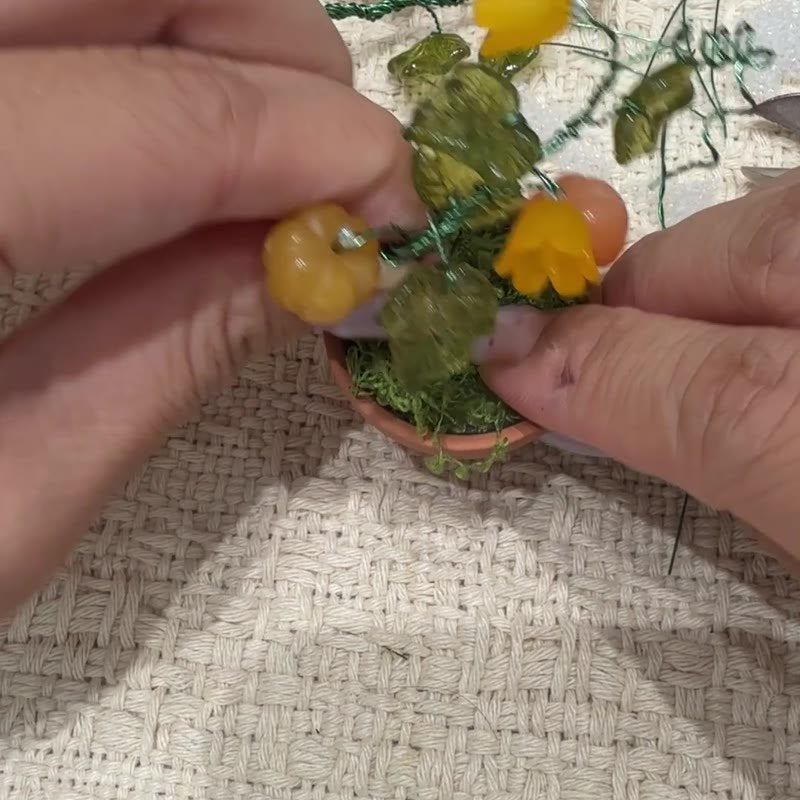
02 · Insert the branches separately.
- Test the height of each branch against the pot before cutting. Trim away excess wire while leaving enough straight wire at the bottom to insert into the foam.
- Insert the two branches separately. Adjust their positions and heights so the flowers, pumpkins, and leaves are not all lined up or hidden behind one another.
Before you move on — Leave insertion wire below each branch. Do not cut all the wire tails off.
Step 9 · Shape the little garden
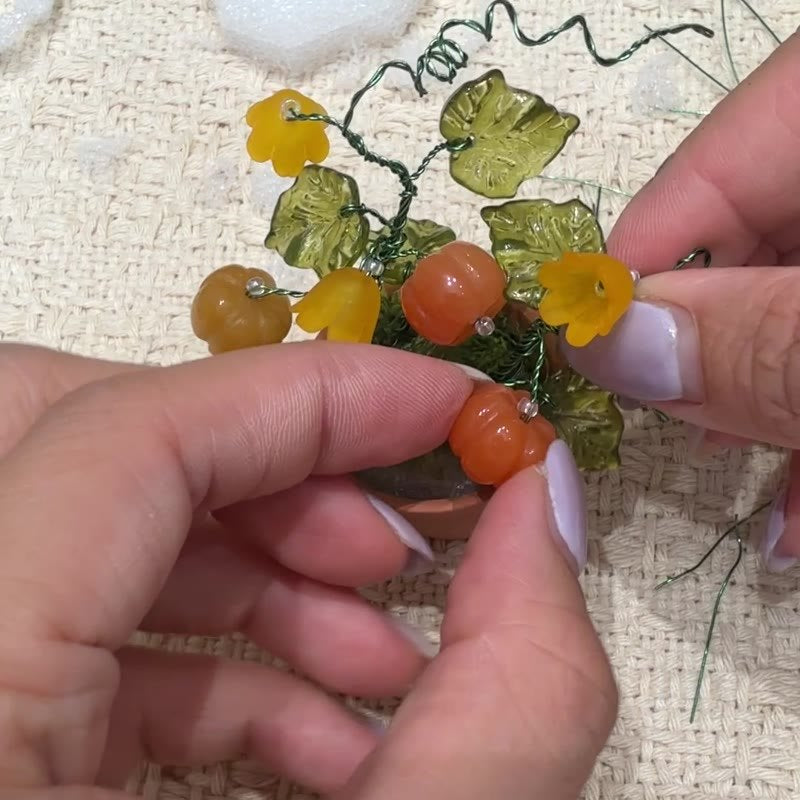
Give the flowers, leaves and pumpkins room to show.
- Gently turn the leaves, flowers, and pumpkins toward the front. Adjust the tendrils and spacing so the individual pieces can be seen.
- Tidy the faux moss around the stems and inside the pot rim. The plant arrangement is now complete; the magnet still needs to be attached.
Before you move on — The plant is assembled, but it is not ready for magnetic display yet.
Step 10 · Glue the magnet to the back of the pot
Written instructions — this step is not filmed.
- The magnet is packed separately and is not pre-attached. Take it from the kit and use your own glue to attach it to the back of the pot.
- Follow the glue manufacturer's directions for application, positioning, and full curing. Keep the piece supported while the adhesive cures. Do not place it on the fridge before the glue has fully cured.
Before you move on — Your own glue is required for the magnet. Optional glue for planting does not replace this step.
Step 11 · Display your finished piece
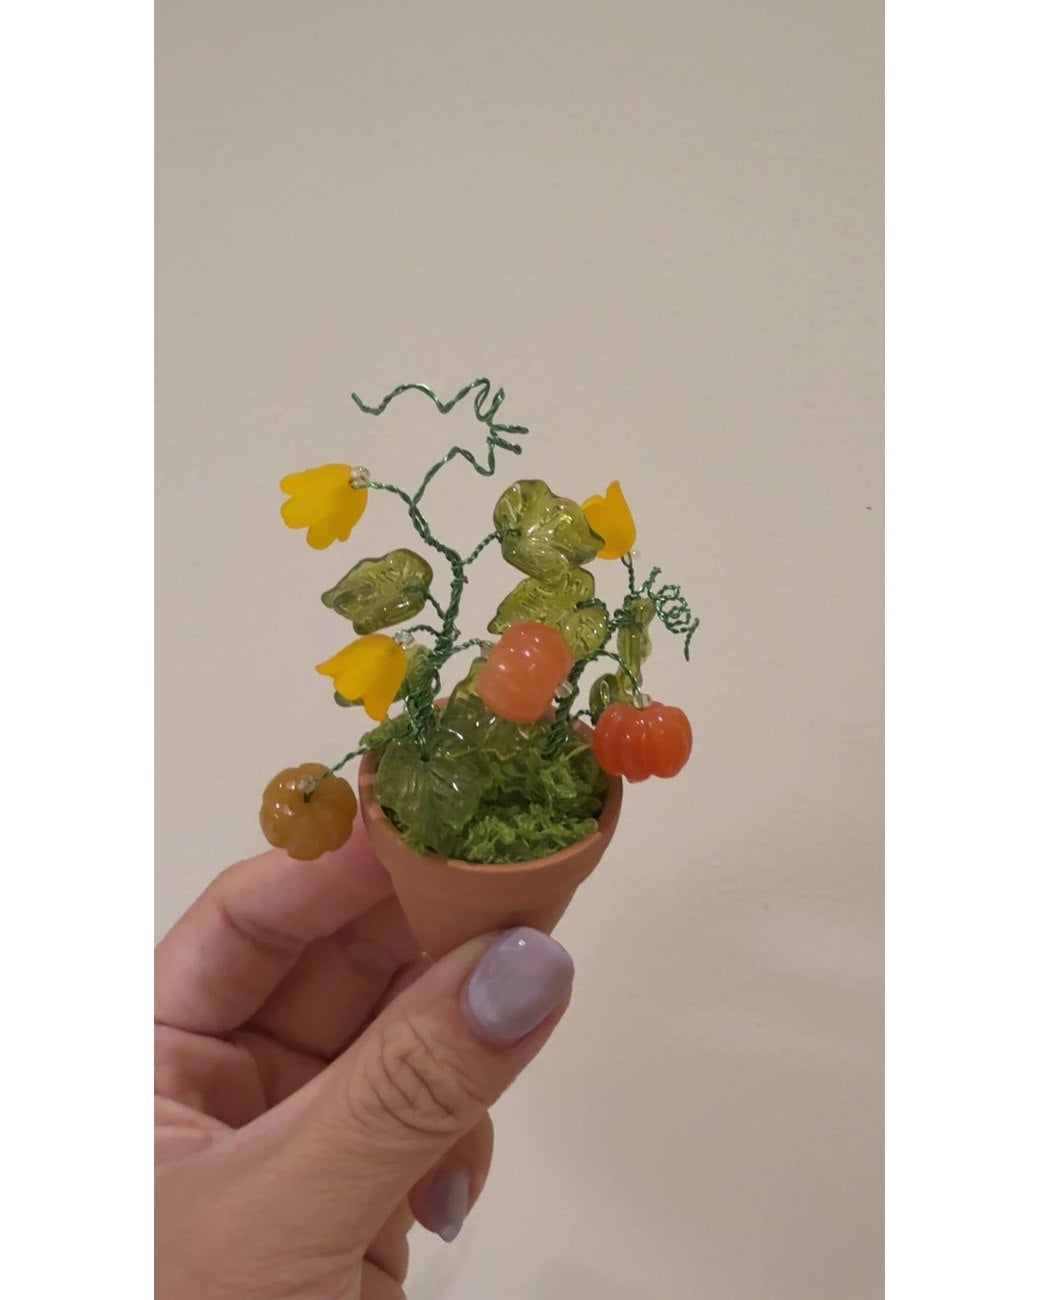
The finished arrangement, shown by hand. Cure the glued magnet before displaying it.
- Once the glue has fully cured, place your finished piece on a suitable magnetic surface.
- Allow about 1 hour to make the project. Adhesive curing time is additional and depends on the glue you use. Your little pumpkin garden is ready to bring a handmade autumn detail to your space.
Before you move on — Making time is about 1 hour; glue curing is additional.
A little garden. A little joy.
Let the glue cure fully, then give your handmade pumpkin garden a place on a suitable magnetic surface.
More beaded fridge magnets
Beaded Plant Fridge Magnet · Beaded Hydrangea Fridge Magnet · Make 3 Mini Beaded Cactus Magnets · beaded plants collection
Related reading
Beaded Fridge Magnets: Tiny Decor for Small Spaces · Fall Beaded Plant Decor: Choose by Display Spot · Fall Home Decor Ideas: Style Small Spaces


